How to Set Up Windows 11 for Content Creators
Content creation on Windows 11 is not complicated, but the default setup is wrong for it. The operating system ships tuned for general office use — notifications fire at random, power plans throttle performance, and there is no obvious place to park a GPU temperature readout when you need to know whether your rig is cooking mid-stream. A few deliberate changes close the gap between "a PC that can run OBS" and "a PC that is actually set up for serious work."
This guide covers every layer: storage layout, capture and encoding, audio, system monitoring, desktop widgets for at-a-glance information, and the smaller quality-of-life tweaks that add up over hundreds of hours of recording. It is written for creators who make YouTube videos, stream on Twitch, record podcasts, or some combination of all three.
Step 1: Storage — the foundation everything else depends on
Video files are large. Raw 1080p60 footage from OBS at a decent local bitrate runs roughly 10–15 GB per hour. 4K footage can hit 80 GB per hour. If you put everything on a single drive alongside your OS, you will hit capacity problems before you hit capability problems.
The practical layout for 2026:
- Drive 1 (NVMe SSD, 500 GB–1 TB): Windows, applications, OBS, editing software. Speed here matters for fast app launches and smooth timeline scrubbing.
- Drive 2 (SSD or fast HDD, 2–4 TB): Active project files and raw footage. Reads and writes happen constantly during recording and editing — do not put this on a slow spinner if you can avoid it.
- Drive 3 or external (large HDD, 4–8 TB): Finished exports and archive. Speed matters much less here; capacity matters a lot.
File naming conventions matter more than most creators realize until it is too late. A consistent pattern like YYYY-MM-DD_ProjectName_Take01.mp4 keeps folders sorted chronologically without any extra effort. Apply it from day one.
Windows Storage Spaces (Settings → System → Storage → Advanced storage settings → Storage Spaces) can mirror two drives automatically for redundancy — useful if you cannot afford to lose a recording session to a drive failure.
Step 2: Power plan and GPU settings
Windows 11 defaults to a "Balanced" power plan that throttles CPU and GPU performance under light load. For gaming, streaming, and rendering, switch to a high-performance profile:
- Press Win + R, type
powercfg.cpl, and press Enter. - Expand "Show additional plans" and select High performance. On laptops with modern AMD or Intel processors, "Balanced" is often equivalent to High performance when plugged in — but desktop users should switch explicitly.
- In Settings → System → Display, set the refresh rate to your monitor's maximum. A 144 Hz monitor running at 60 Hz wastes the hardware.
In the NVIDIA Control Panel (or AMD Software), set Power management mode to Prefer maximum performance for applications you use for recording and streaming. This prevents the GPU from dropping clocks mid-stream.
Step 3: OBS Studio — the non-negotiable capture tool
OBS Studio is free, open-source, and the clear default choice for capture and streaming in 2026. It runs on Windows 10 and 11, supports hardware encoding (NVENC for NVIDIA, AMF for AMD), and handles multi-source scenes — game capture, webcam, browser sources, audio — without a subscription.
On first launch, run the Auto-Configuration Wizard (Tools → Auto-Configuration Wizard). It tests your hardware and network and recommends encoder, bitrate, and resolution settings. For most setups in 2026 the recommendations are reasonable starting points, though you will likely want to tune them.
Key settings to verify manually:
- Encoder: NVENC H.264 (NVIDIA) or AMF H.264 (AMD) for streaming. Software x264 at a high bitrate (CRF 18–23) for local recordings where quality is the priority.
- Streaming bitrate: 6,000 kbps for 1080p60 on Twitch and YouTube. YouTube supports higher — up to 51,000 kbps for 4K — if your upload allows it.
- Recording bitrate: Set OBS to record in a high-quality format (MKV + Remux to MP4, or CRF mode) rather than using the same bitrate as your stream output. You will thank yourself at the editing stage.
- Audio bitrate: 320 kbps AAC for recording; 160 kbps is sufficient for streaming where it costs upload bandwidth.
Game Capture source is more reliable than Display Capture for games — it captures the game directly rather than the desktop, so it works in fullscreen exclusive mode and has lower latency. Use Display Capture for non-game content like screen tutorials or software demos.
Step 4: Audio setup
Audio quality matters more than video quality in most content formats. Viewers tolerate a pixelated frame; they close tabs over muddy, echoey, or clipped audio.
The simplest good setup: a dynamic USB microphone (Samson Q2U, Audio-Technica ATR2100x, or similar) plugged directly into USB, positioned 15–20 cm from your mouth, with a basic foam windscreen. Dynamic mics reject room noise much better than condenser mics in untreated spaces.
In OBS, add the microphone as an Audio Input Capture source. Apply two filters in order:
- Noise Suppression (RNNoise mode) — removes constant background hum like fans and HVAC. Set strength to 30–50%; higher values start eating consonants.
- Compressor — smooths out volume differences between quiet and loud speech. A ratio of 4:1 with a threshold around -18 dB and attack of 6 ms works well as a starting point.
For more complex audio routing — separating game audio, microphone, Discord, and browser tabs into different OBS tracks — VoiceMeeter Banana is the free Windows standard. It adds a virtual audio mixer that OBS can read from individual channels. The learning curve is steep but the flexibility is unmatched.
Step 5: System monitoring on the desktop
Knowing your GPU temperature and CPU load during a stream is valuable: it tells you whether you are headroom-safe before hitting a demanding segment, and it catches thermal throttling before it costs you frame drops. You do not want to alt-tab to Task Manager mid-stream to check.
Two practical approaches:
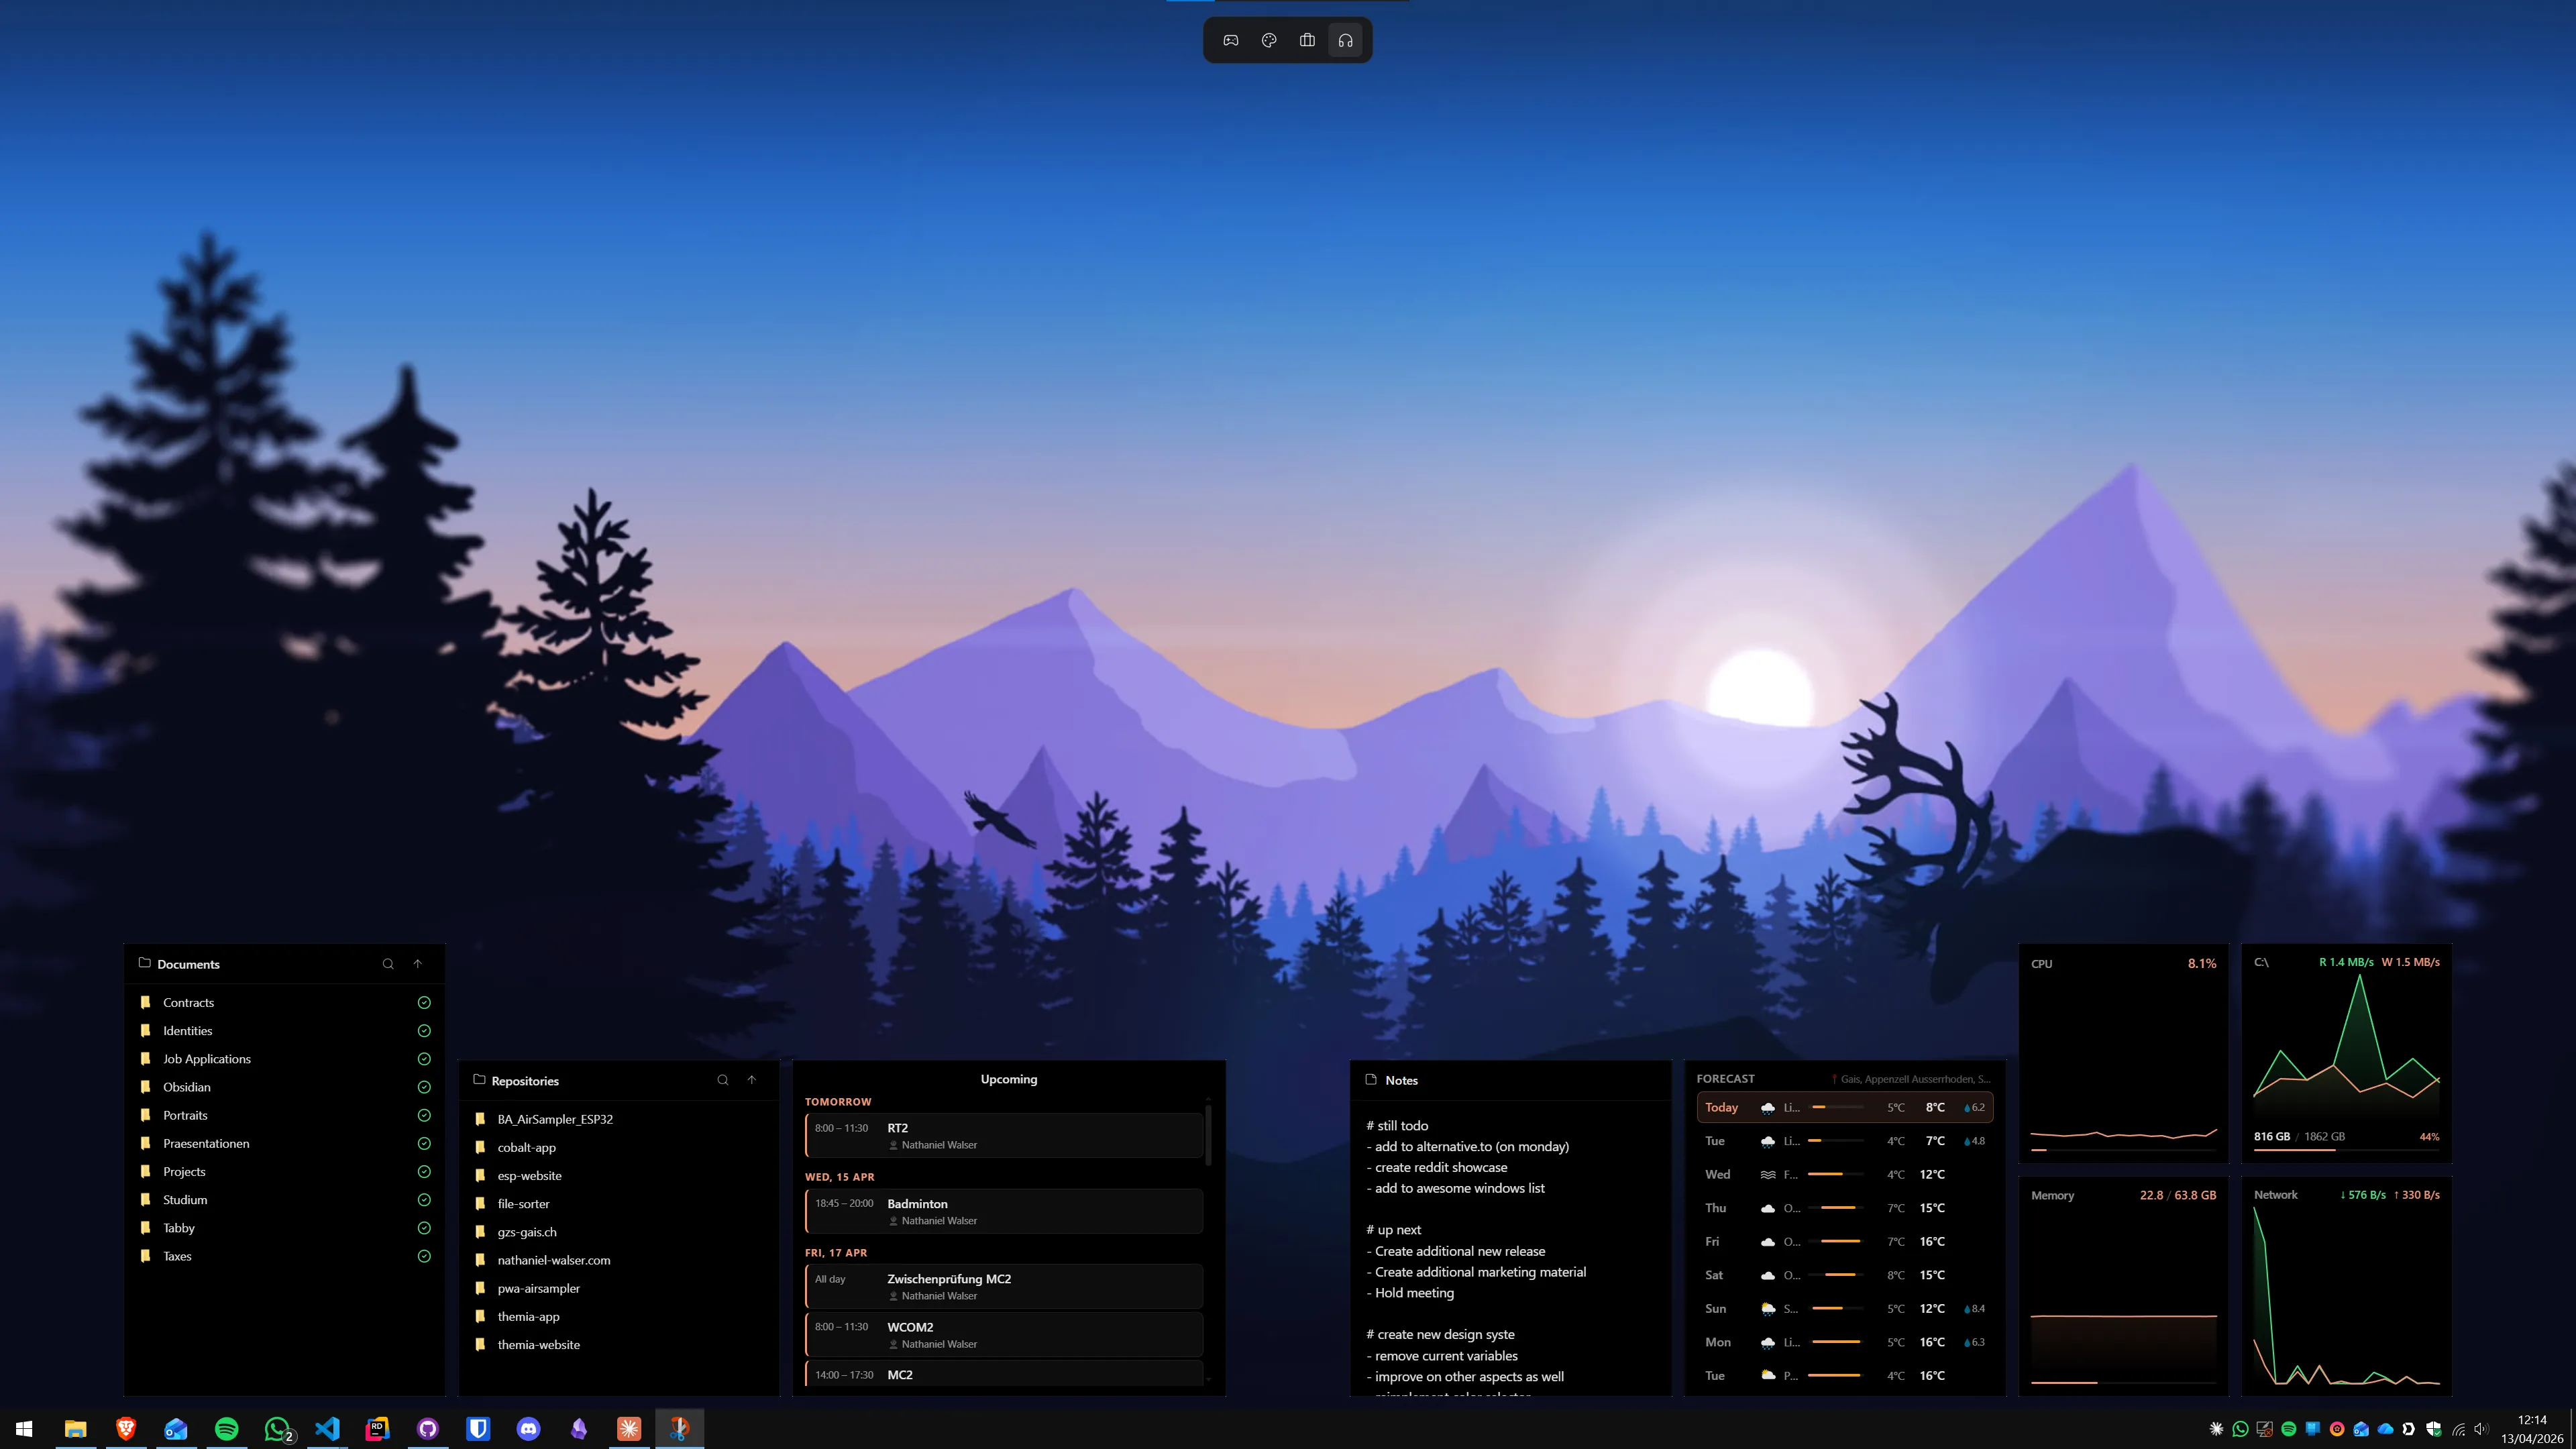
- Desktop widget: A system stats widget on a secondary display gives you always-visible CPU, GPU, RAM, and network speed without any interaction. Themia's system stats widget covers the core metrics and is always visible on the wallpaper — nothing to open or toggle. Details in our CPU and GPU temperature guide.
- MSI Afterburner overlay: If you want metrics inside the game frame itself (visible in your stream), MSI Afterburner with RivaTuner Statistics Server draws a configurable overlay. It can show GPU temperature, VRAM usage, frame time, and more, directly in the top corner of the capture.
For deep sensor data — CPU core temps, drive temps, fan RPM — HWiNFO64 is free and the most accurate sensor reader on Windows. It can feed data into Rainmeter, MSI Afterburner, and other display tools via shared memory.
Step 6: Second monitor layout for creators
A second monitor is almost mandatory for live streaming. You need somewhere to put the OBS preview, chat, stream alerts, and monitoring without covering your main content. The practical layout:
- Primary display: your game, recording subject, or editing timeline — what the viewer sees.
- Secondary display: OBS Studio with the stream preview open, chat (Chatterino for Twitch is the standard, YouTube Studio works for YouTube), a desktop widget panel with system stats, and any communication tools you need for coordination.
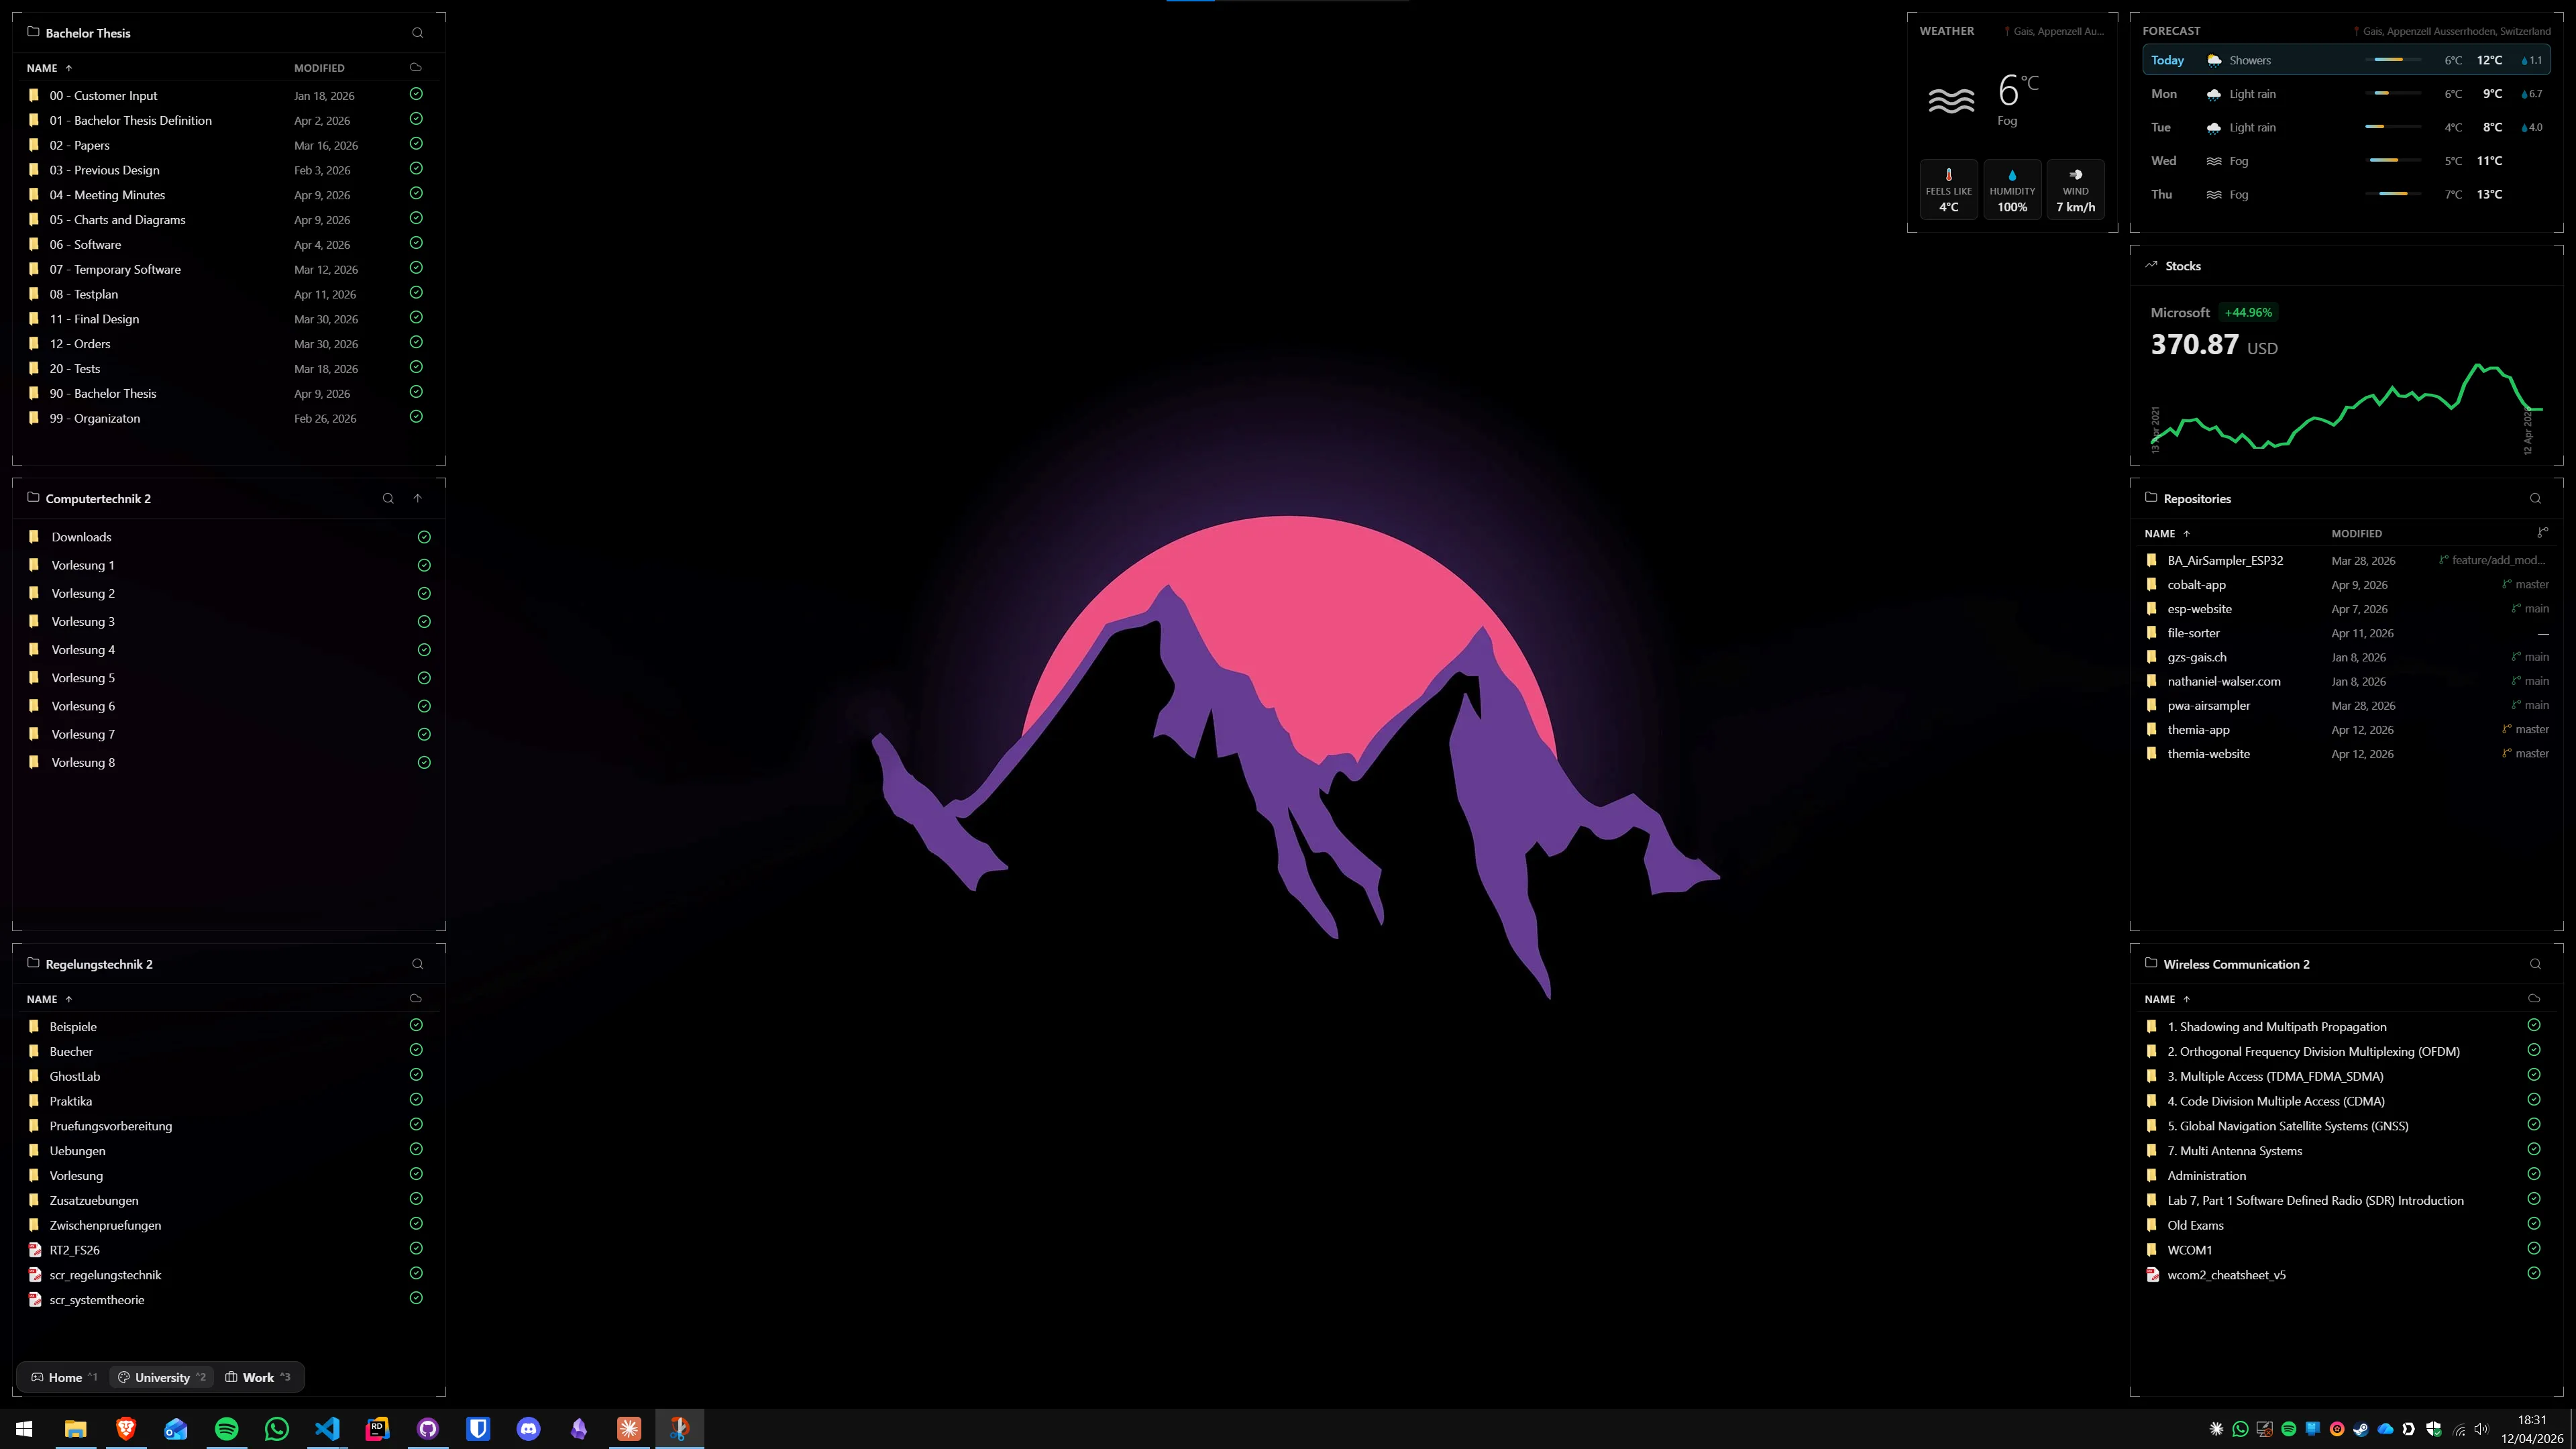
Themia handles per-screen widget layouts natively — you can place a system stats widget on the secondary monitor and keep the primary clean. Details in our guide on desktop widgets on a dual monitor setup.
Step 7: Notifications — silence everything during recording
Windows 11 notification toasts appear over the desktop and get captured by Display Capture if you are not careful. The simplest fix:
- Settings → System → Notifications → toggle Do not disturb on whenever you are recording or live. You can set it to turn on automatically at specific times.
- In OBS, use Game Capture instead of Display Capture for game content — Game Capture does not capture the Windows notification layer.
- For everything else (browser tutorials, software demos), dedicate a virtual desktop to the recording and keep all communication apps on a different virtual desktop. Windows will not show toasts from the background desktop in your capture.
Focus Sessions (Windows Clock app → Focus) is an underused built-in option that silences all non-alarm notifications for a set duration and can link to Spotify and Microsoft To Do. It is worth knowing about even if you end up using manual Do Not Disturb instead. See our guide on using a Pomodoro timer on Windows for the full setup.
Step 8: Thumbnail and graphic creation tools
Thumbnails drive clicks on YouTube more than almost any other variable. The standard toolset for creators on Windows:
- Canva (free tier): browser-based, has YouTube thumbnail templates, no learning curve. Fine for starting out.
- Adobe Photoshop or Photoshop Elements: the professional standard, subscription-based. The monthly cost is worth it if thumbnails are a high-output part of your workflow.
- GIMP (free, open-source): the serious free Photoshop alternative. Uglier UI but capable of everything you need for thumbnails. Learning curve is real.
- Affinity Photo 2 (one-time purchase, ~$70): Photoshop-class quality without a subscription. Increasingly popular in the creator space.
For lower-thirds, stream overlays, and animated graphics, Adobe After Effects is the standard. Canva Pro and StreamElements Overlays are popular browser-based alternatives that need no local install.
Step 9: Desktop widgets for the creator workflow
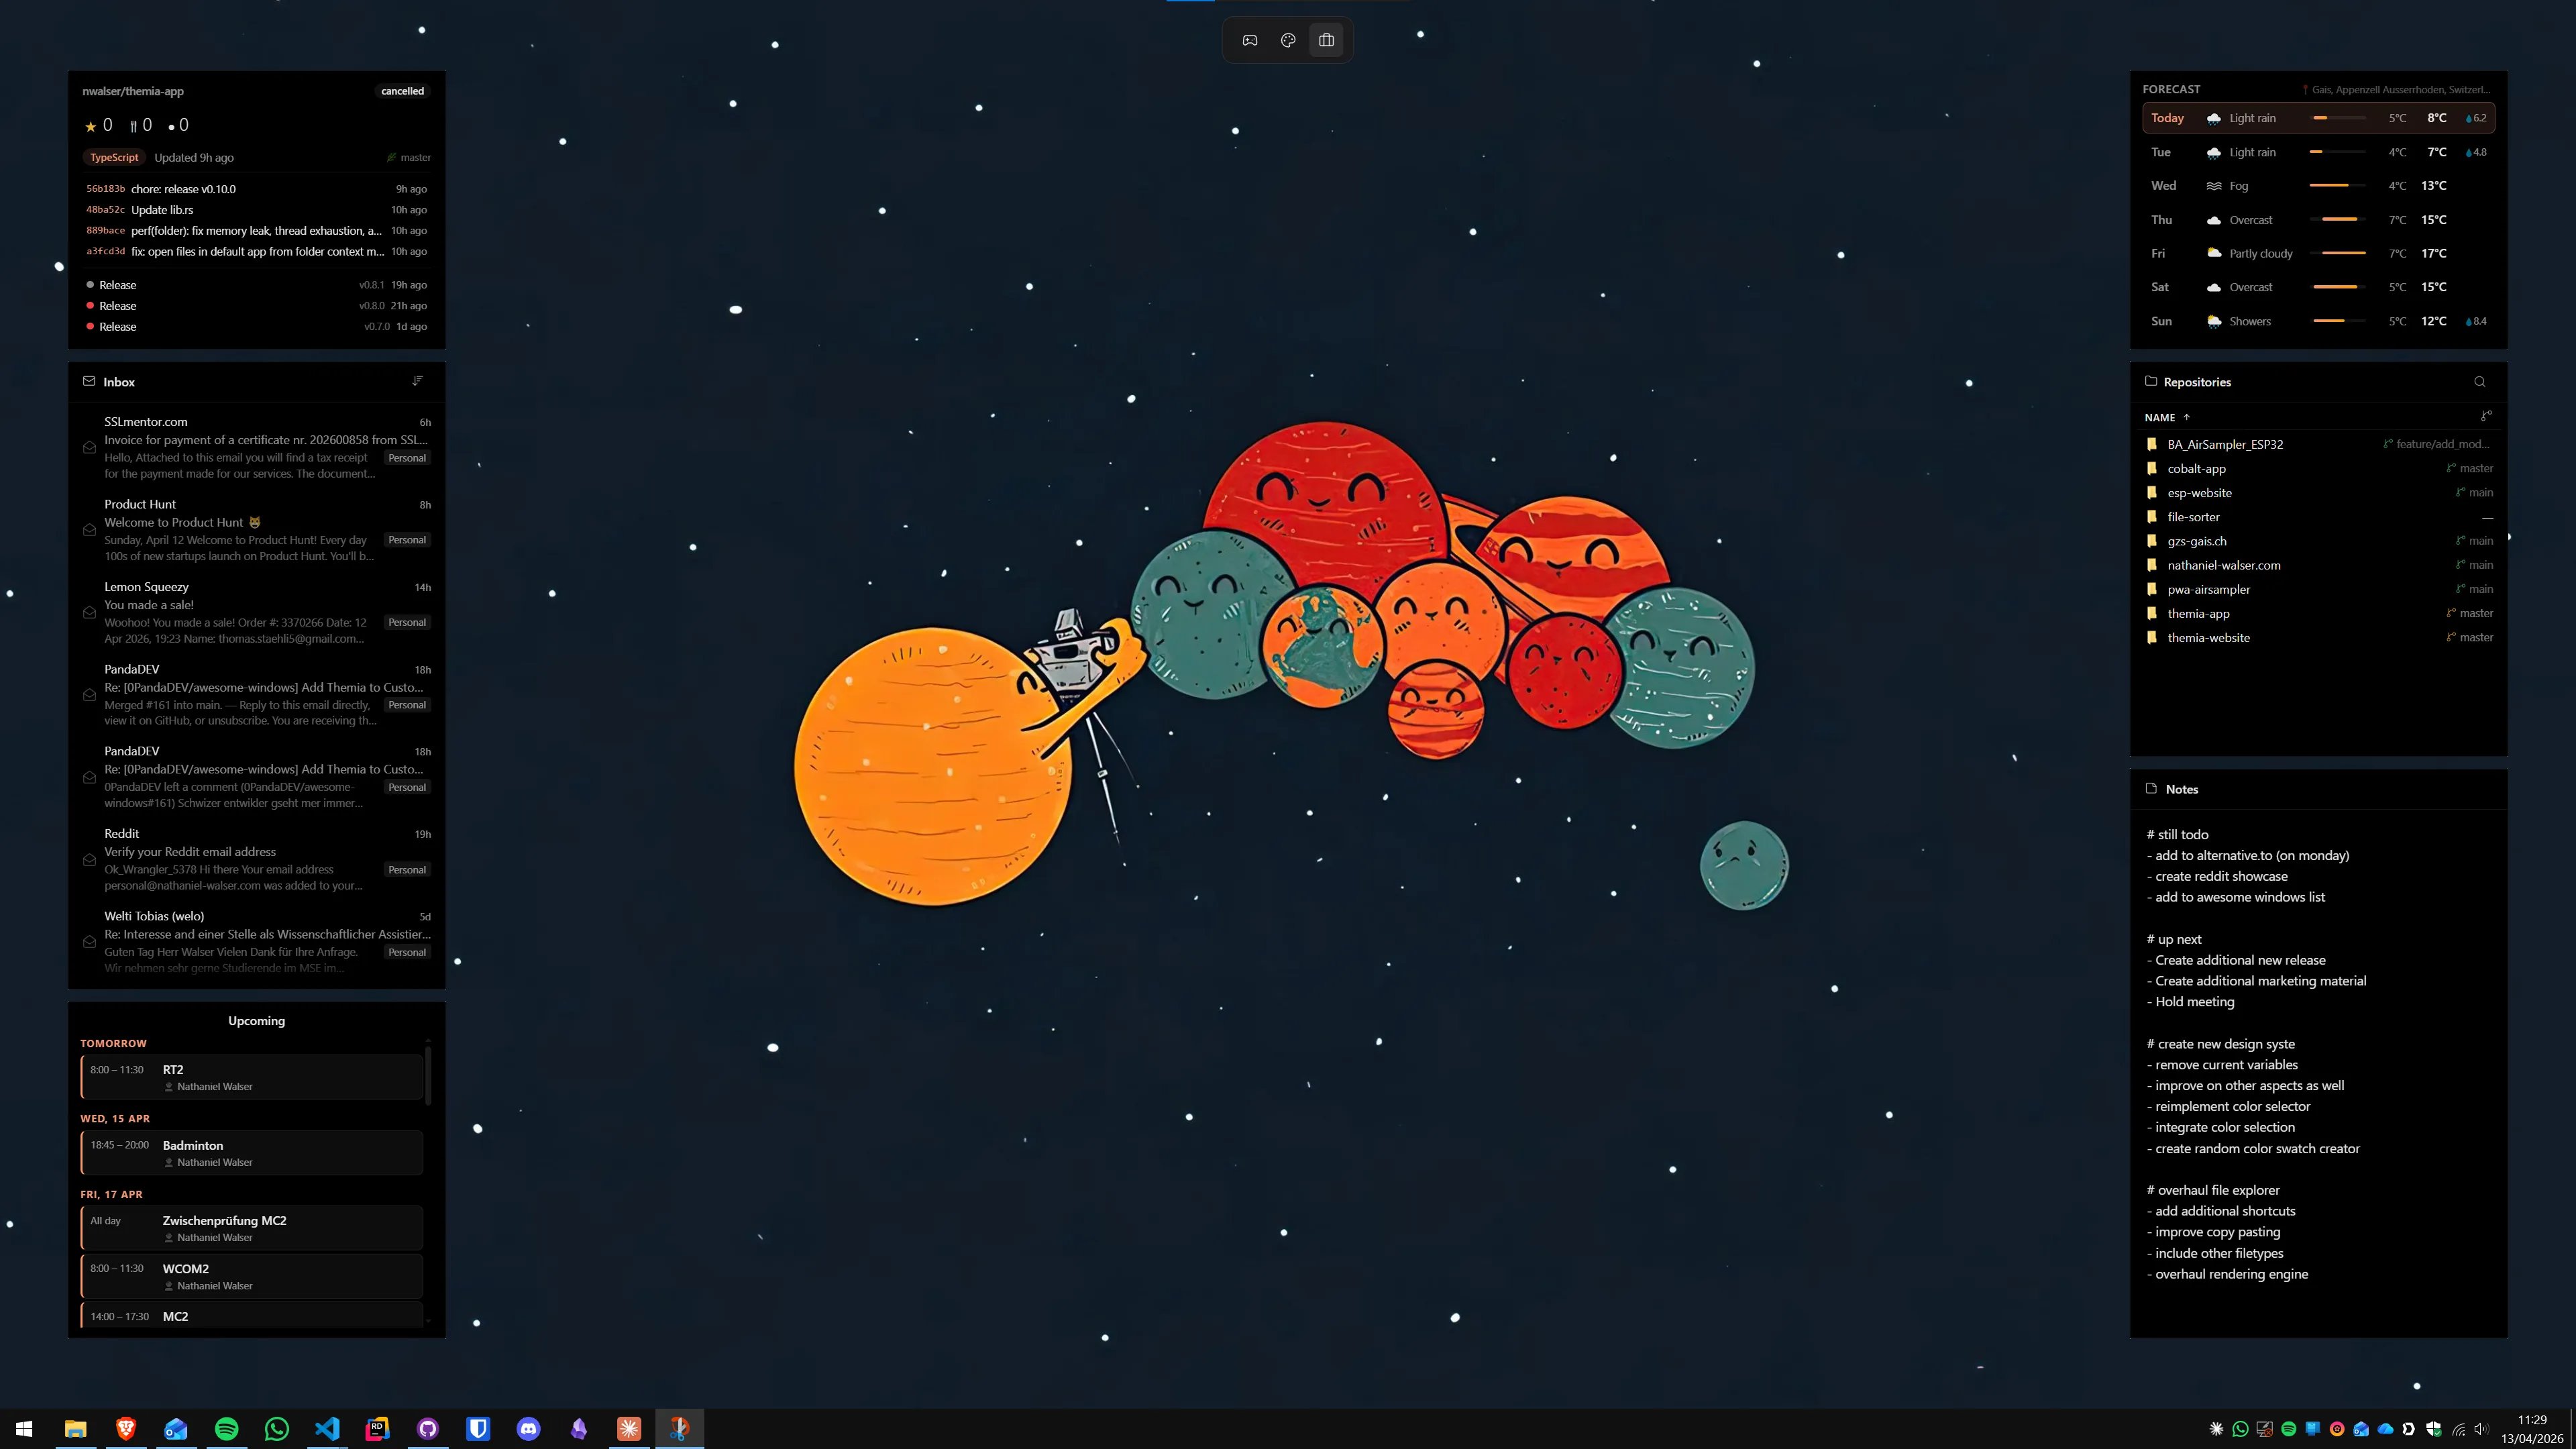
A content creator's desktop has specific needs: a always-visible system stats readout, an upcoming-events calendar to track upload schedules and live dates, a to-do list for scripts and deliverables, and a music widget for the between-takes atmosphere. A desktop widget app lets you place all of these permanently on the wallpaper, visible behind your recording software without requiring any app switch.
Themia covers the full creator widget set out of the box — system stats (CPU, GPU, RAM, network), calendar, to-do, music now-playing, notes, and folder launcher — in a native app that weighs under 10 MB and adds no measurable frame time cost during capture. The music widget works with Spotify, Apple Music, AIMP, and anything that exposes Windows media controls.
For creators who prefer a fully custom look, Rainmeter remains the maximum-flexibility option — but expect to spend an evening configuring it before it is actually useful.
Step 10: Video editing software
The main choices in 2026 for Windows video editors:
- DaVinci Resolve (free): professional-grade colour grading and editing in a free tier that covers most workflows. GPU-accelerated on NVIDIA and AMD. The free tier has no watermark and no time limit — it is genuinely professional software, not a demo.
- Adobe Premiere Pro (subscription): the industry standard for YouTube and broadcast editing. Best ecosystem integration if you also use After Effects and Photoshop.
- CapCut for Desktop (free): aimed at short-form creators (TikTok, Reels, YouTube Shorts). Fast workflow for quick edits but limited for long-form.
- Kdenlive (free, open-source): a capable free editor for creators who want an open-source alternative to DaVinci. Less polished but actively maintained.
DaVinci Resolve is the right default recommendation for creators starting out who do not want a subscription. Its colour tools are the best in class at any price point, and the free tier removes the main reason people historically chose Premiere.
The essential creator tool checklist
- OBS Studio — capture and streaming (free)
- DaVinci Resolve — editing (free tier covers most needs)
- GIMP or Affinity Photo — thumbnail creation
- VoiceMeeter Banana — audio routing (free, if needed)
- HWiNFO64 — sensor monitoring (free)
- Themia — desktop widgets for monitoring and workflow (free tier, $19 Pro)
- Chatterino — Twitch chat (free) or YouTube Studio browser tab
- ShareX — screenshots and annotated screen capture (free, open-source)
That list costs nothing except the optional Pro unlock on Themia. The "paid professional creator stack" is a later upgrade, not a starting requirement.
If you want to start with the widget layer, Themia's free tier is available at themia.app — install, add a system stats widget and a calendar, and you already have more at-a-glance information than most creators ever set up.
FAQ
Does Windows 11 Home work for content creation, or do I need Pro?
Windows 11 Home is fine for the vast majority of content creators. The differences that matter for creators — GPU acceleration in OBS, DaVinci Resolve, and Adobe apps; SSD performance; RAM — are identical across Home and Pro. Pro adds BitLocker, Hyper-V, and group policy management, none of which are relevant to streaming or video editing. Save the upgrade cost and put it toward storage or RAM instead.
How much RAM do I actually need for streaming and editing at the same time?
Streaming alone (OBS encoding to Twitch or YouTube) adds roughly 1–2 GB of RAM to whatever your game or application uses. Light editing in DaVinci Resolve or Premiere runs comfortably on 16 GB. Heavy 4K editing, especially with lots of effects layers, benefits from 32 GB. If you are only recording — not streaming live — 16 GB is the practical minimum for most workflows in 2026.
Should I use hardware (NVENC/AMF) or software (x264) encoding in OBS?
Hardware encoding (NVIDIA NVENC on RTX cards, AMD AMF on RX cards) is the right default for almost everyone in 2026. It uses dedicated encoder silicon that runs in parallel with your GPU render work, so the performance cost is very low — often under 2% additional GPU load. Software x264 encoding produces slightly better quality per kilobit but burns CPU cores you may need for your game or app. Use NVENC or AMF for live streaming. For local recordings where quality matters most, x264 at a high bitrate is still the gold standard.
Which microphone is good for starting a podcast or YouTube channel on a budget?
The Samson Q2U and the Audio-Technica ATR2100x are both USB/XLR dynamic microphones in the 60–80 USD range that punch well above their price. Dynamic mics pick up less room noise than condenser mics, which matters if you record in a normal room rather than a treated studio. If your room is already fairly quiet, the Blue Yeti or HyperX SoloCast are popular plug-and-play USB condensers at a similar price. All four work on Windows 11 with no driver installation.
Can I run Themia widgets while streaming without affecting performance?
Yes. Themia is a native Tauri app that uses very little CPU and RAM — typically under 1% CPU and around 100–200 MB of RAM for a full widget layout. It does not render through a browser engine, which is why its footprint stays small. On any modern system, running a set of desktop widgets alongside OBS and your game or editing software adds no noticeable performance cost.
What is the best way to organize footage and project files on Windows?
The most durable structure is a top-level folder per project, with consistent sub-folders inside: Footage, Audio, Graphics, Exports, and Project Files. Keep raw footage on a dedicated fast drive (SSD or NVMe), and move finished exports to a slower large-capacity drive or external backup. Windows Storage Spaces can mirror two drives automatically if you want built-in redundancy without third-party software. Whatever structure you choose, apply it from day one — reorganizing 2 TB of old footage is painful.