How to Set Up Windows 11 for Video Editing
Windows 11 is a capable video editing platform out of the box — but "capable" is not the same as "optimised." A default Windows 11 install throttles CPU power states, lacks the HEVC codec, leaves startup apps competing for RAM during renders, and gives you no real-time view of what your hardware is doing under load. Fixing those things takes less than an hour and can cut render times by 20–40 percent depending on your hardware.
This guide covers everything: choosing and tuning the right hardware, installing the best free and paid editors, unlocking the Ultimate Performance power plan, installing the HEVC codec, tweaking virtual memory, clearing startup interference, and using virtual desktops to keep your workflow organised. It applies equally to Windows 10 and Windows 11.
Hardware That Actually Matters for Video Editing
Video editing is one of the few consumer workloads that stresses every subsystem simultaneously — CPU for decoding and effects, GPU for acceleration and rendering, RAM for frame caches, and storage for reading source footage and writing exports. Here is what to prioritise.
GPU: CUDA, ROCm, and Hardware Encoding
Modern video editors offload the heaviest work to the GPU. DaVinci Resolve uses CUDA (NVIDIA) or OpenCL (AMD/Intel), Premiere Pro uses the Mercury Playback Engine with CUDA and OpenCL, and virtually every editor supports hardware-accelerated H.264/H.265 encoding.
For NVIDIA cards, CUDA acceleration is mature and universally supported. The NVENC encoder on RTX cards can encode H.265 at near-real-time speeds. For AMD cards, ROCm is available on Linux but on Windows the relevant path is OpenCL — which works well in Resolve and Kdenlive. AMD's AMF encoder is solid for H.264 but lags behind NVENC for H.265 quality at the same bitrate.
Minimum useful GPU for 1080p editing: any RTX 2060 or RX 6600 or newer. For 4K with effects: RTX 3070/RX 6800 or better. GPU VRAM matters too — 8 GB is the minimum for 4K Resolve projects; 12–16 GB gives comfortable headroom.
Keep GPU drivers current. NVIDIA releases Studio Drivers specifically tuned for creative apps — install those rather than the Game Ready drivers if video editing is your primary use. AMD's Software Adrenalin Edition also has a "Creator" mode in its driver settings.
RAM: 16 GB Minimum, 32 GB Recommended
Video editors are memory-hungry. DaVinci Resolve alone recommends 16 GB, and that is before you have a browser tab, Discord, or any other app open. At 16 GB you will see the cache spill to disk regularly during 4K playback. At 32 GB, most 4K timelines play smoothly and render queues run without interruption.
RAM speed matters less than capacity for video editing, but if you are buying new, DDR5-5600 or DDR4-3200 with XMP/EXPO enabled in BIOS gives a measurable boost over running at stock speeds.
Storage: NVMe SSD for Footage, Secondary Drive for Exports
Slow storage is the single most common bottleneck in video editing. A 4K ProRes or R3D file reads at 300–800 MB/s — well above what any spinning hard drive can deliver. An NVMe SSD (Gen 3 or Gen 4) easily handles this. SATA SSDs work for 1080p but start to struggle with uncompressed 4K.
Best practice: keep your operating system and editing software on one NVMe drive, and your source footage and cache files on a second NVMe or fast SATA SSD. Separating reads (footage) from writes (cache/exports) prevents the two from competing on the same drive controller.
For long-term archival, a desktop HDD is fine — just do not try to edit directly from it.
Installing the Best Free Video Editors
DaVinci Resolve 19 (Free Tier)
DaVinci Resolve is the professional standard, and the free version is genuinely professional-grade. It includes:
- Cut page — a fast-cut editor designed for quick assembly
- Edit page — a full NLE timeline with multicam, nested timelines, and compound clips
- Fusion page — node-based visual effects and motion graphics
- Color page — primary and secondary grading with scopes, nodes, and HDR tools
- Fairlight page — a full digital audio workstation for dialogue, music, and sound design
Download from Blackmagic Design's website (not the Microsoft Store — the Store version is outdated). The installer is around 2.8 GB. After installation, go to DaVinci Resolve > Preferences > Memory and GPU and confirm that GPU processing is set to CUDA (NVIDIA) or OpenCL (AMD). Set the GPU memory limit to your card's actual VRAM.
Resolve 19 added AI-assisted dialogue cleanup, automatic subtitles (Studio only for full batch processing, but per-clip in free), and improved HDR grading tools. If you have been waiting for Resolve to mature, it is ready.
Kdenlive
Kdenlive is a free, open-source NLE that feels more like a traditional timeline editor. It is a good fit for editors coming from iMovie or basic Premiere workflows who find Resolve's node-based colour system overwhelming at first. Kdenlive supports hardware-accelerated rendering via FFmpeg with NVENC/VAAPI, has a clean multi-track timeline, and handles nested sequences. Download from kdenlive.org.
Shotcut
Shotcut is another free open-source editor with a simpler learning curve than either Resolve or Kdenlive. Its main advantage is extremely wide format support — if you have unusual camera formats or legacy footage, Shotcut often handles them without conversion. The timeline is less powerful than Resolve's, but for straightforward cuts, colour adjustments, and basic audio work, it is reliable and fast to learn.
Paid Editors Worth Considering
Adobe Premiere Pro
Premiere Pro remains the industry standard in broadcast and agency work. Its main advantages in 2026 are deep After Effects integration, the Adobe ecosystem (Audition for audio, Photoshop for title graphics), and universal format support including ProRes on Windows (with the right codec installed). The AI-powered speech-to-text for subtitles and the Generative Extend tool (fill short clips with AI-generated frames) are genuinely useful.
The downside is the subscription model — around $55/month for the full Creative Cloud suite or $22/month for Premiere alone. If you are producing content professionally and need collaboration or After Effects, it is worth it. For personal projects, the free editors are competitive.
Vegas Pro
Vegas Pro (now owned by Magix) has a loyal following for its audio-first approach and its ability to edit without a dedicated GPU — useful on laptops or older workstations. The interface is less polished than Premiere or Resolve, but experienced Vegas editors work extremely fast in it. Vegas Pro 22 added GPU-accelerated rendering for H.265 and improved titling tools. It sells as a one-time purchase or subscription, with perpetual licenses typically available during sale periods for $150–250.
Enabling Ultimate Performance Power Plan
Windows 11's default Balanced power plan allows the CPU and GPU to drop to low power states during light load. During a render, this causes unnecessary throttling as Windows second-guesses whether to boost. The Ultimate Performance plan keeps everything at maximum clock speeds.
To enable it:
- Press Win+R, type
powercfg.cpl, and press Enter. - Click Show additional plans at the bottom. If Ultimate Performance is not listed, continue to step 3.
- Open PowerShell as administrator and run:
powercfg -duplicatescheme e9a42b02-d5df-448d-aa00-03f14749eb61 - Return to Power Options — Ultimate Performance now appears. Select it.
Switch back to Balanced when you are not rendering to reduce heat and fan noise. On laptops, Ultimate Performance also drains the battery faster, so only use it when plugged in.
Installing the HEVC Codec
Windows 11 cannot natively play or decode HEVC (H.265) footage without a codec. This catches many new editors off guard — footage from modern Sony, Canon, or GoPro cameras often shoots in H.265, and Windows will show a black screen or error without the codec installed.
To install the free HEVC codec:
- Open the Microsoft Store.
- Search for "HEVC Video Extensions from Device Manufacturer".
- The listing should show as free. Click Get/Install.
- If you see the $0.99 "HEVC Video Extensions" instead, that is the paid version. The free device-manufacturer version is typically pre-loaded on OEM machines — if it does not appear free for you, the $0.99 version is the alternative.
After installation, HEVC footage plays in Windows Media Player, Photos, and is correctly decoded by hardware-accelerated video editors. Note that DaVinci Resolve includes its own decoder and does not require the Windows codec.
Virtual Memory (Page File) Tweaks
When RAM fills up, Windows spills overflow to the page file on disk. The default page file is system-managed and lives on the C: drive — the same drive Windows uses for everything else. This creates a read/write bottleneck exactly when you need throughput most.
For a better setup:
- Press Win+S, search for Adjust the appearance and performance of Windows, and open it.
- Go to the Advanced tab and click Change under Virtual Memory.
- Uncheck Automatically manage paging file size for all drives.
- If you have a second SSD, set the C: drive to No paging file and create a custom-size page file on the secondary drive. Set initial and maximum size both to 1.5× your installed RAM (e.g., 48 GB if you have 32 GB RAM).
- If you only have one drive, at least set a fixed size rather than system-managed — this prevents the page file from fragmenting. Use the same 1.5× rule.
A fixed-size page file on a separate fast drive reduces the performance cliff when RAM fills during heavy renders.
Disabling Startup Apps Before Export Runs
During a long render, every background app competing for CPU, RAM, and disk I/O takes resources away from your editor. Common culprits: OneDrive sync, Dropbox, Google Drive, Teams, Discord, antivirus real-time scan (you can usually pause it for 1 hour), and Windows Update.
For pre-render cleanup:
- Open Task Manager > Startup apps and disable anything non-essential. Changes take effect on next restart.
- Before a big render, right-click OneDrive/Dropbox in the system tray and pause sync.
- Close browsers — Chrome and Edge consume RAM aggressively with many tabs.
- In Windows Security, go to Virus & threat protection > Manage settings and temporarily turn off real-time protection. Re-enable it after the render completes.
DaVinci Resolve also has its own memory management. In Preferences > Memory and GPU, set System RAM to reserve for other apps to 4 GB (lower is more aggressive). This lets Resolve consume more of your installed RAM.
Using Virtual Desktops to Separate Edit, Review, and Export
One of Windows 11's most underused productivity features is virtual desktops — independent workspaces you switch between with Ctrl+Win+Left/Right Arrow. For video editing, a three-desktop layout works extremely well:
- Desktop 1 — Edit: Your full-screen NLE (DaVinci Resolve, Premiere, etc.) with nothing else open.
- Desktop 2 — Review: A media player (VLC, Windows Media Player) with your latest export, plus a browser tab open to your client's brief or reference footage.
- Desktop 3 — Export/Admin: The render queue monitor, your file manager, email, and any communication tools.
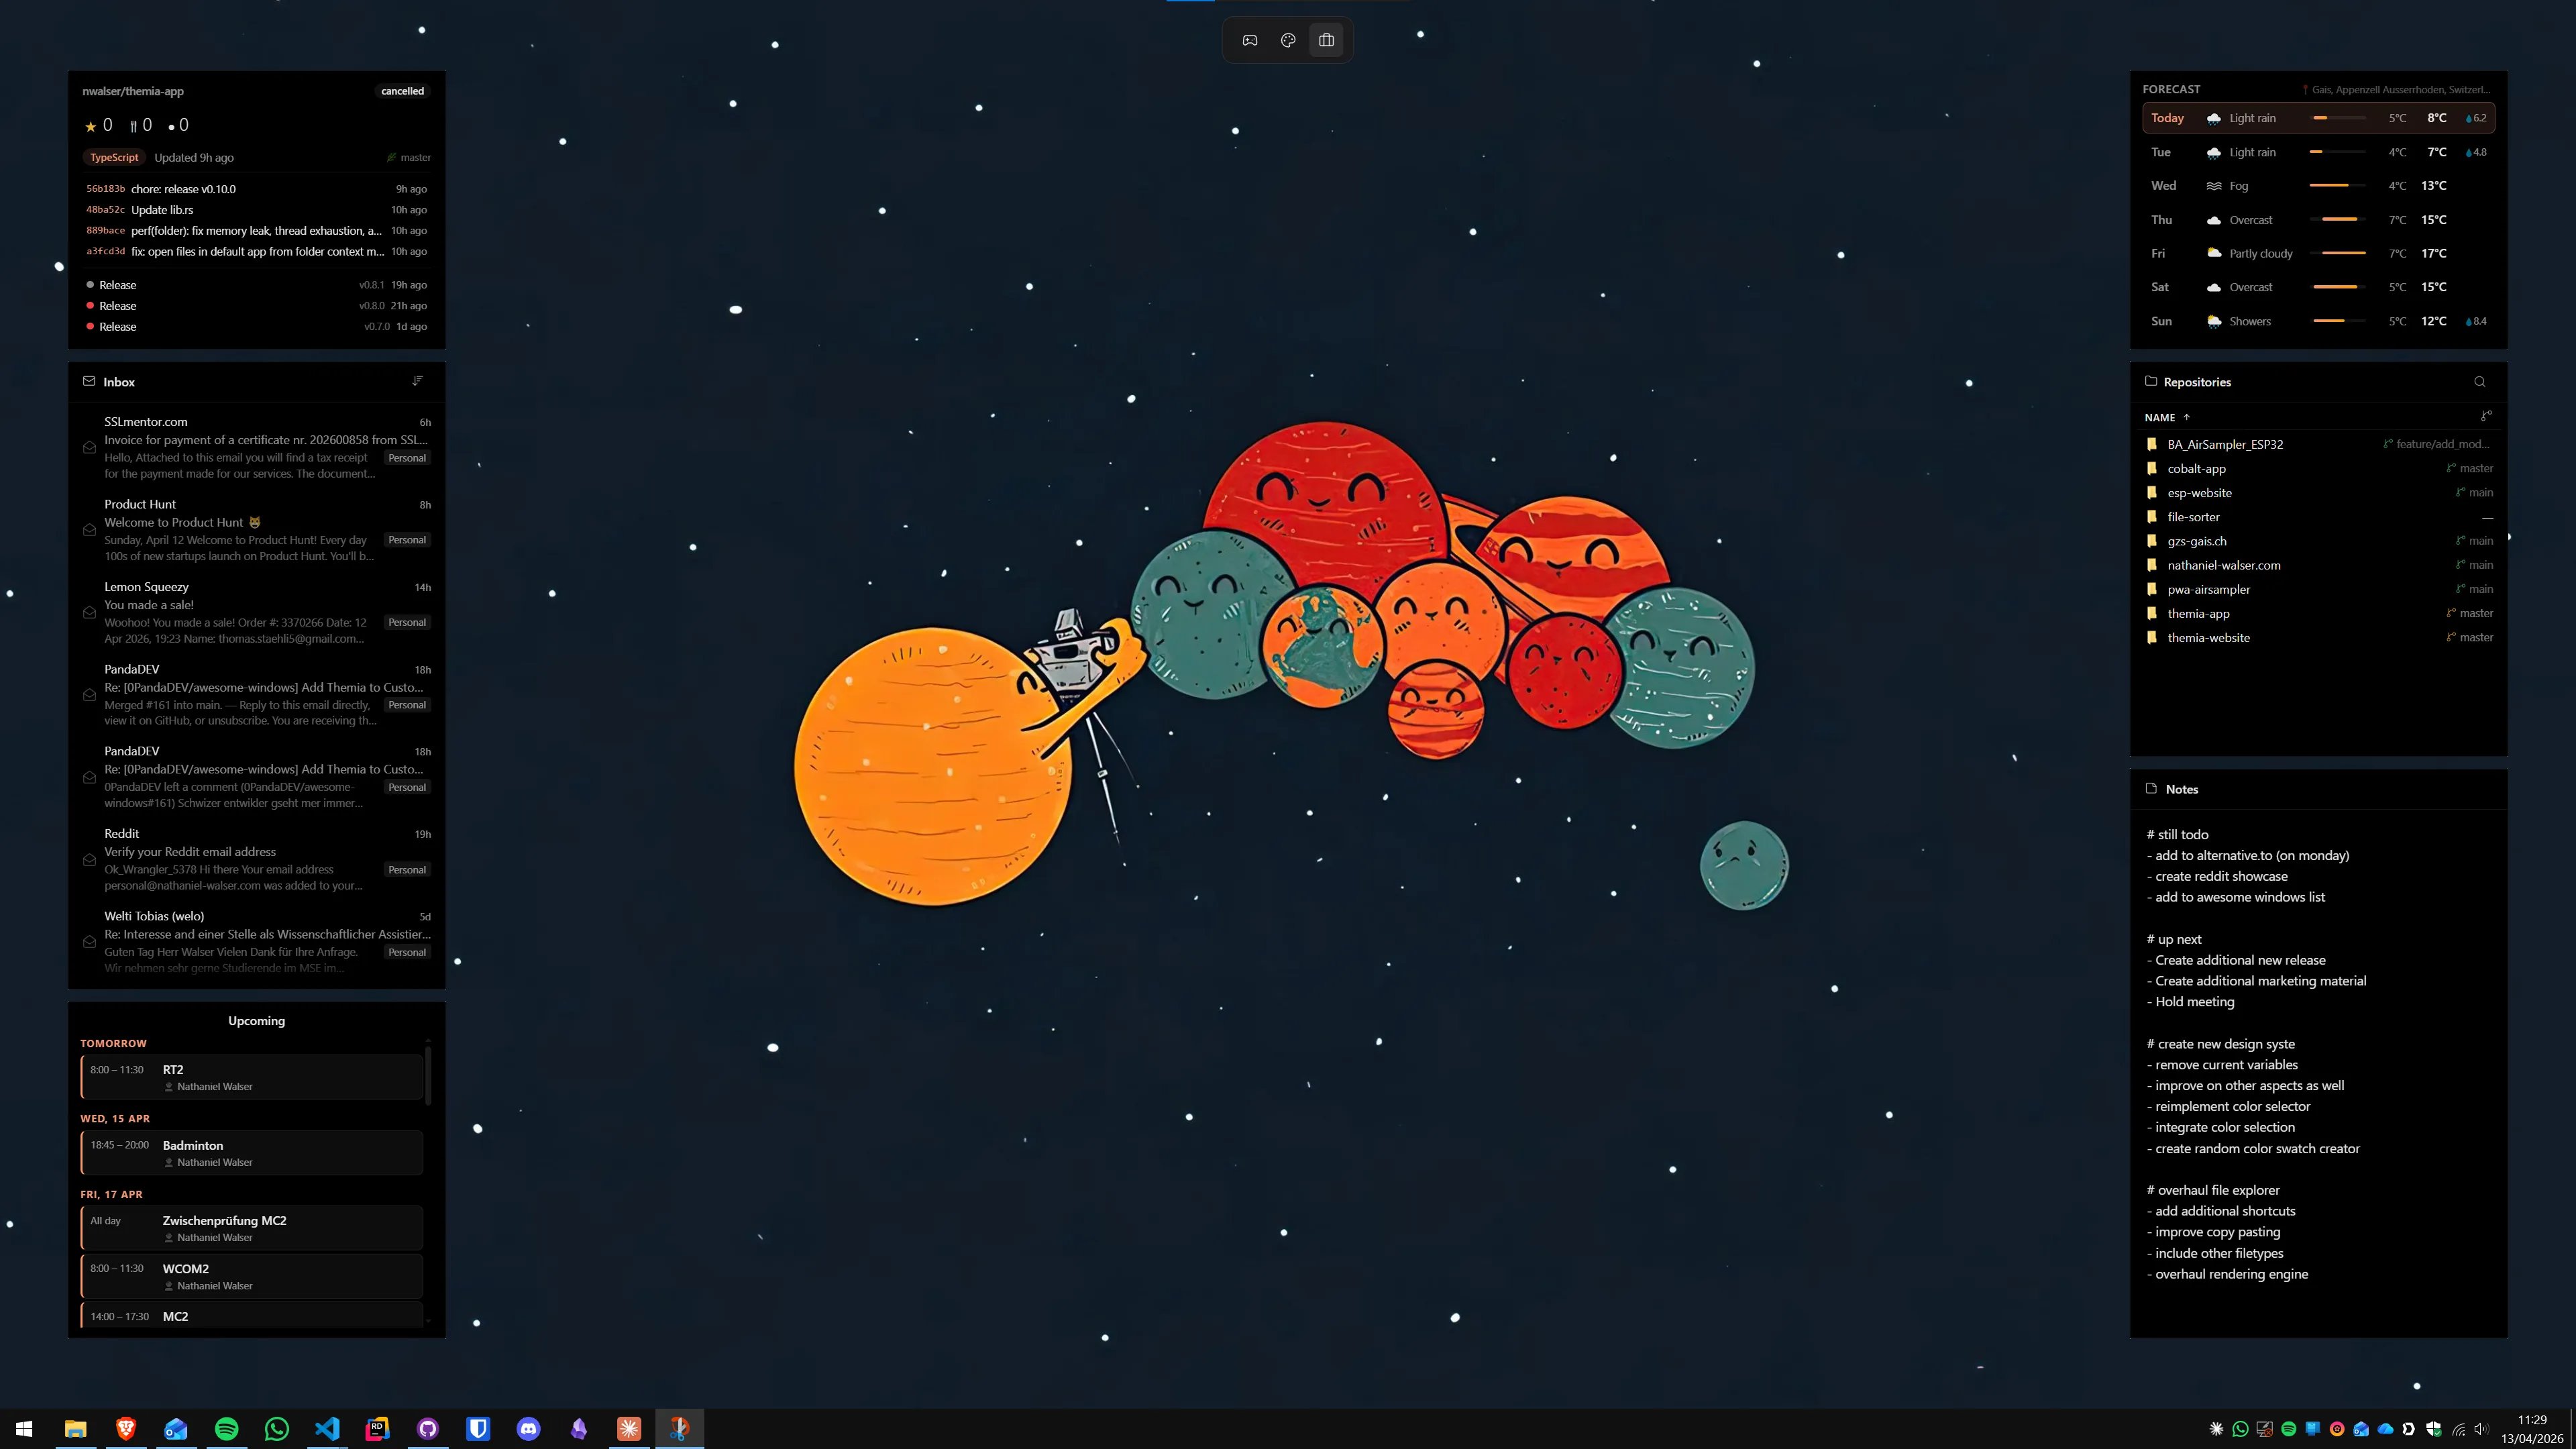
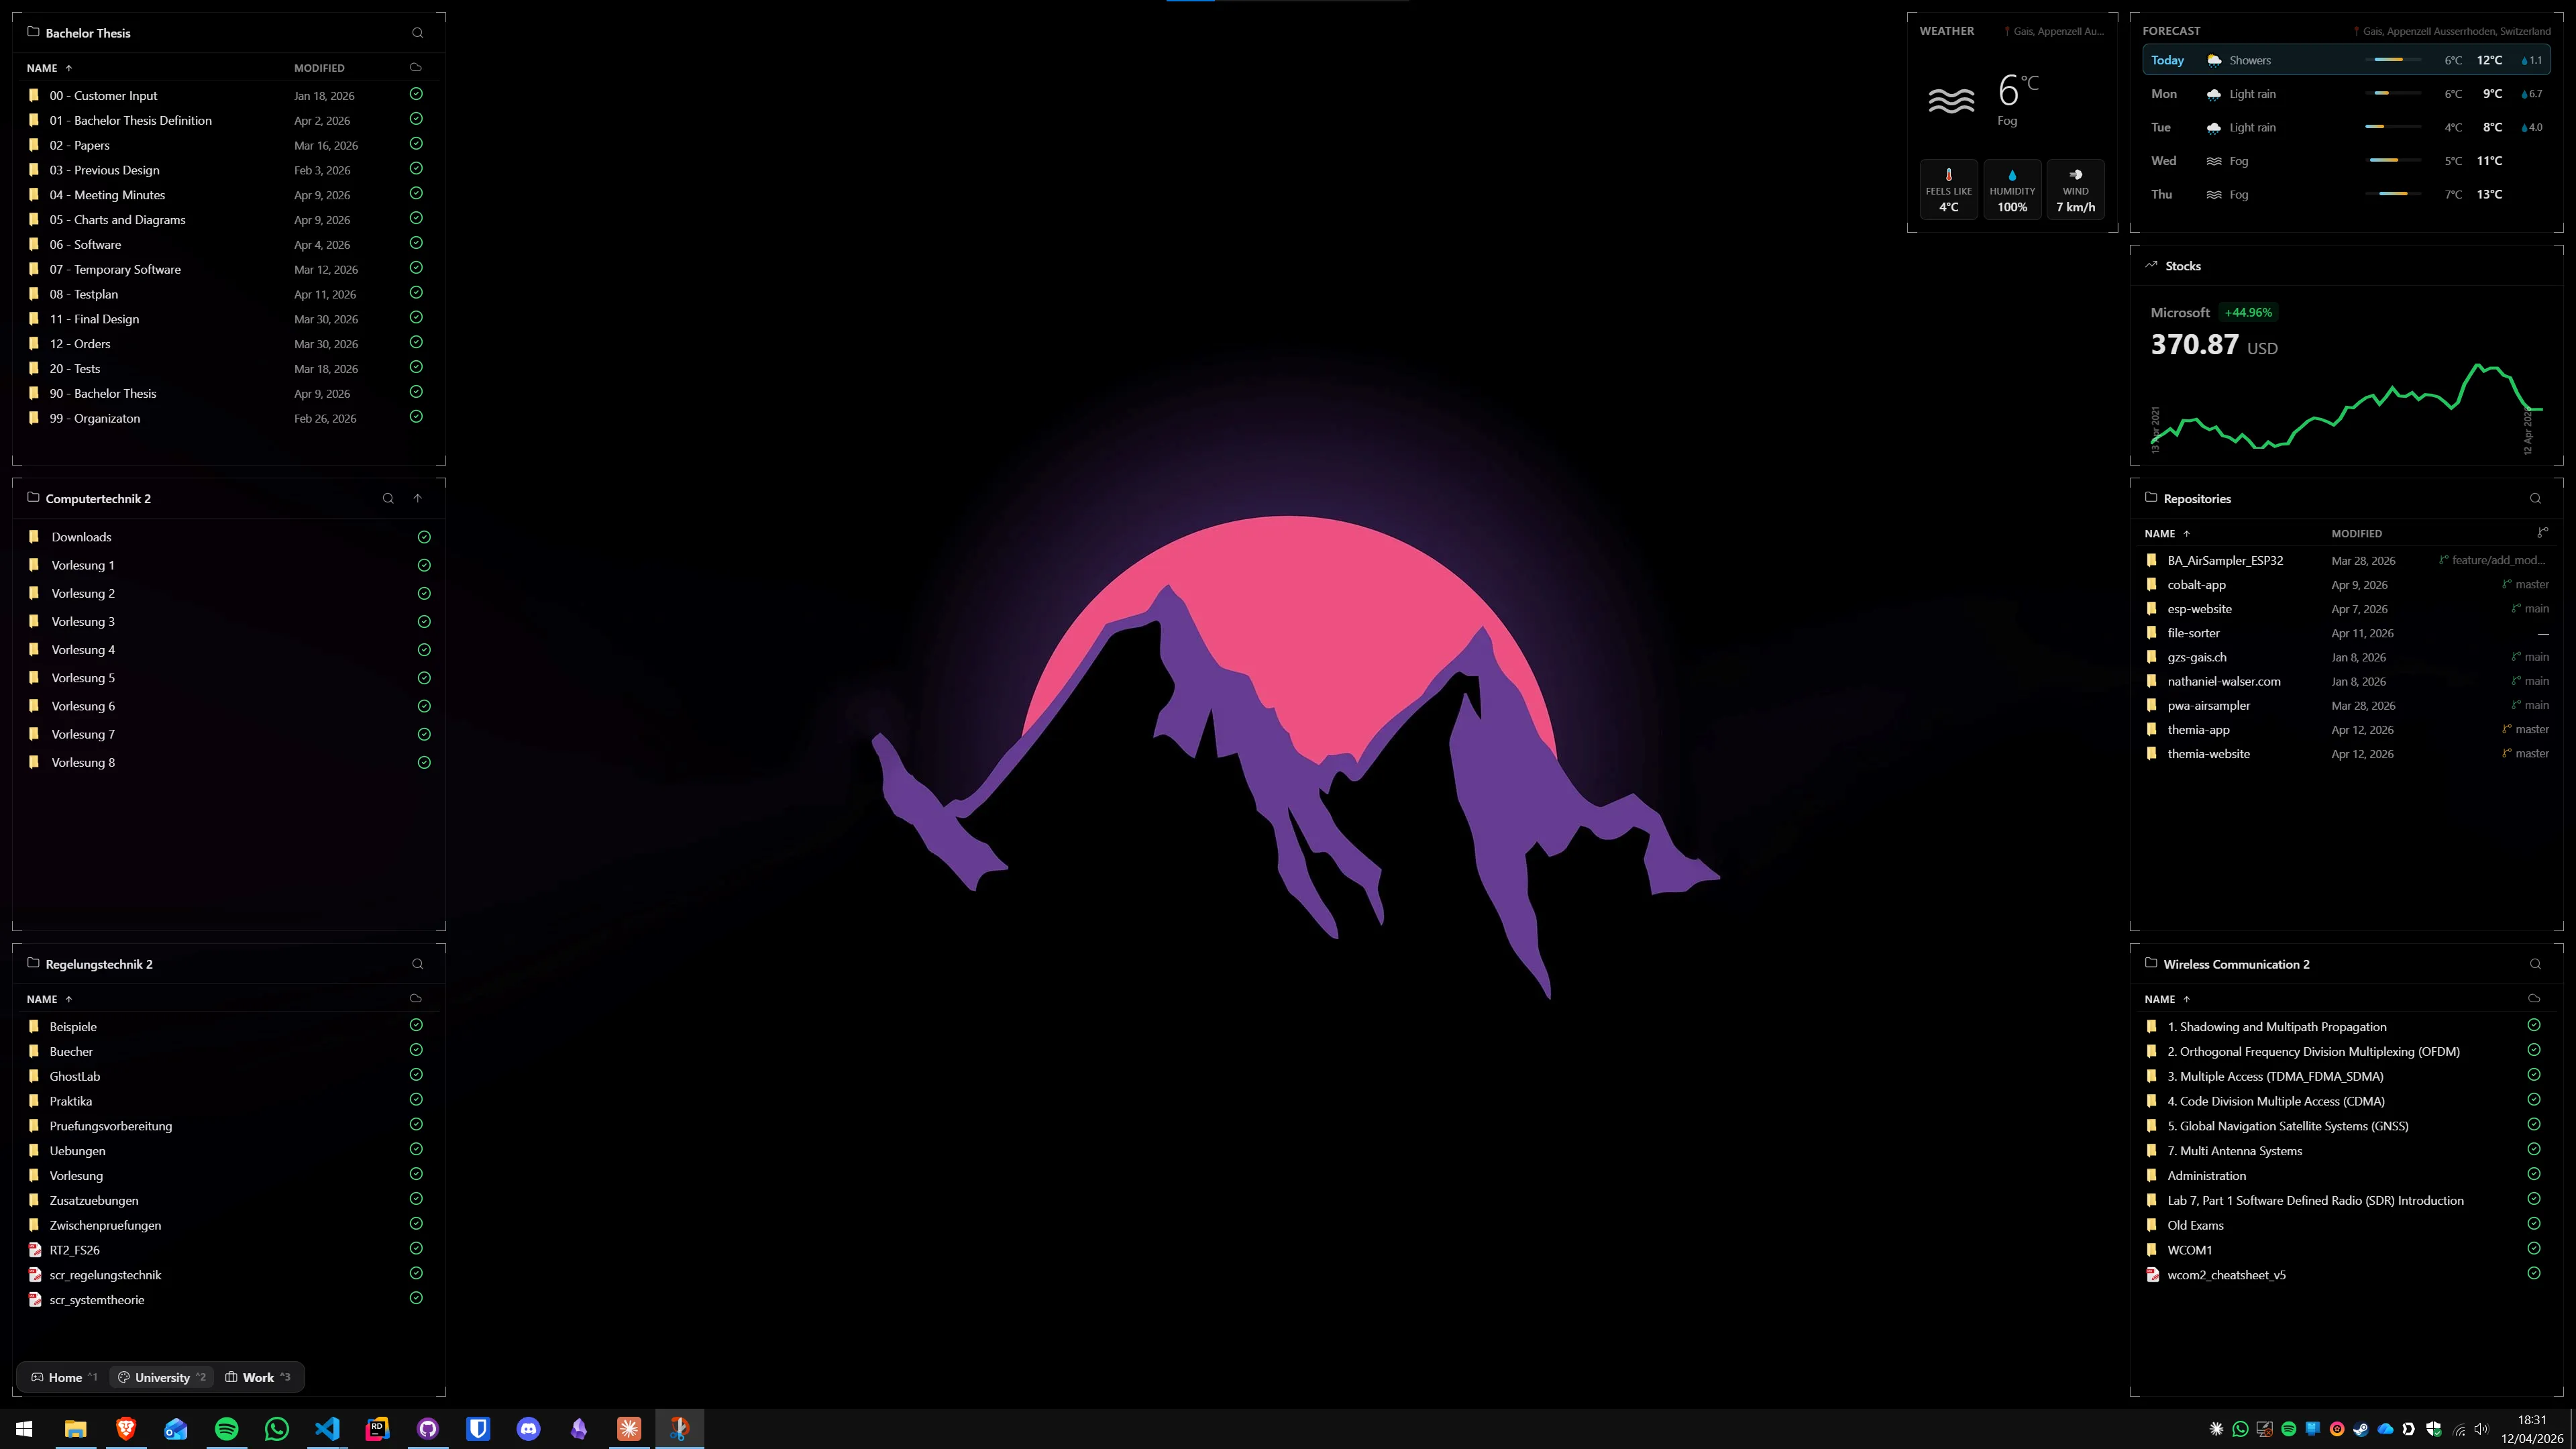
To create virtual desktops, click the Task View button on the taskbar (or press Win+Tab), then click New desktop. Right-click a desktop thumbnail to rename it. You can also set a different wallpaper per desktop, which provides a visual cue for which workspace you are on.
For more on getting the most out of Windows 11's virtual desktops, see our Windows 11 virtual desktops guide.
Monitoring Disk Usage and GPU During Renders
Knowing what your hardware is doing during a render helps you identify bottlenecks. If GPU utilisation sits at 30% while CPU is at 100%, you have a CPU bottleneck — the editor is not able to decode footage fast enough to keep the GPU busy. If disk utilisation is at 100% with high latency, your storage is the limit.
Tools for monitoring:
- Task Manager Performance tab: Shows CPU, GPU, RAM, and disk in real time. Press Ctrl+Shift+Esc and click the Performance tab.
- GPU-Z: A free tool from TechPowerUp that shows detailed GPU load, VRAM usage, clock speeds, and temperature. Useful for confirming that hardware acceleration is actually engaged.
- CrystalDiskMark: Benchmarks your drives so you know their theoretical ceiling before you diagnose render slowdowns as storage-related.
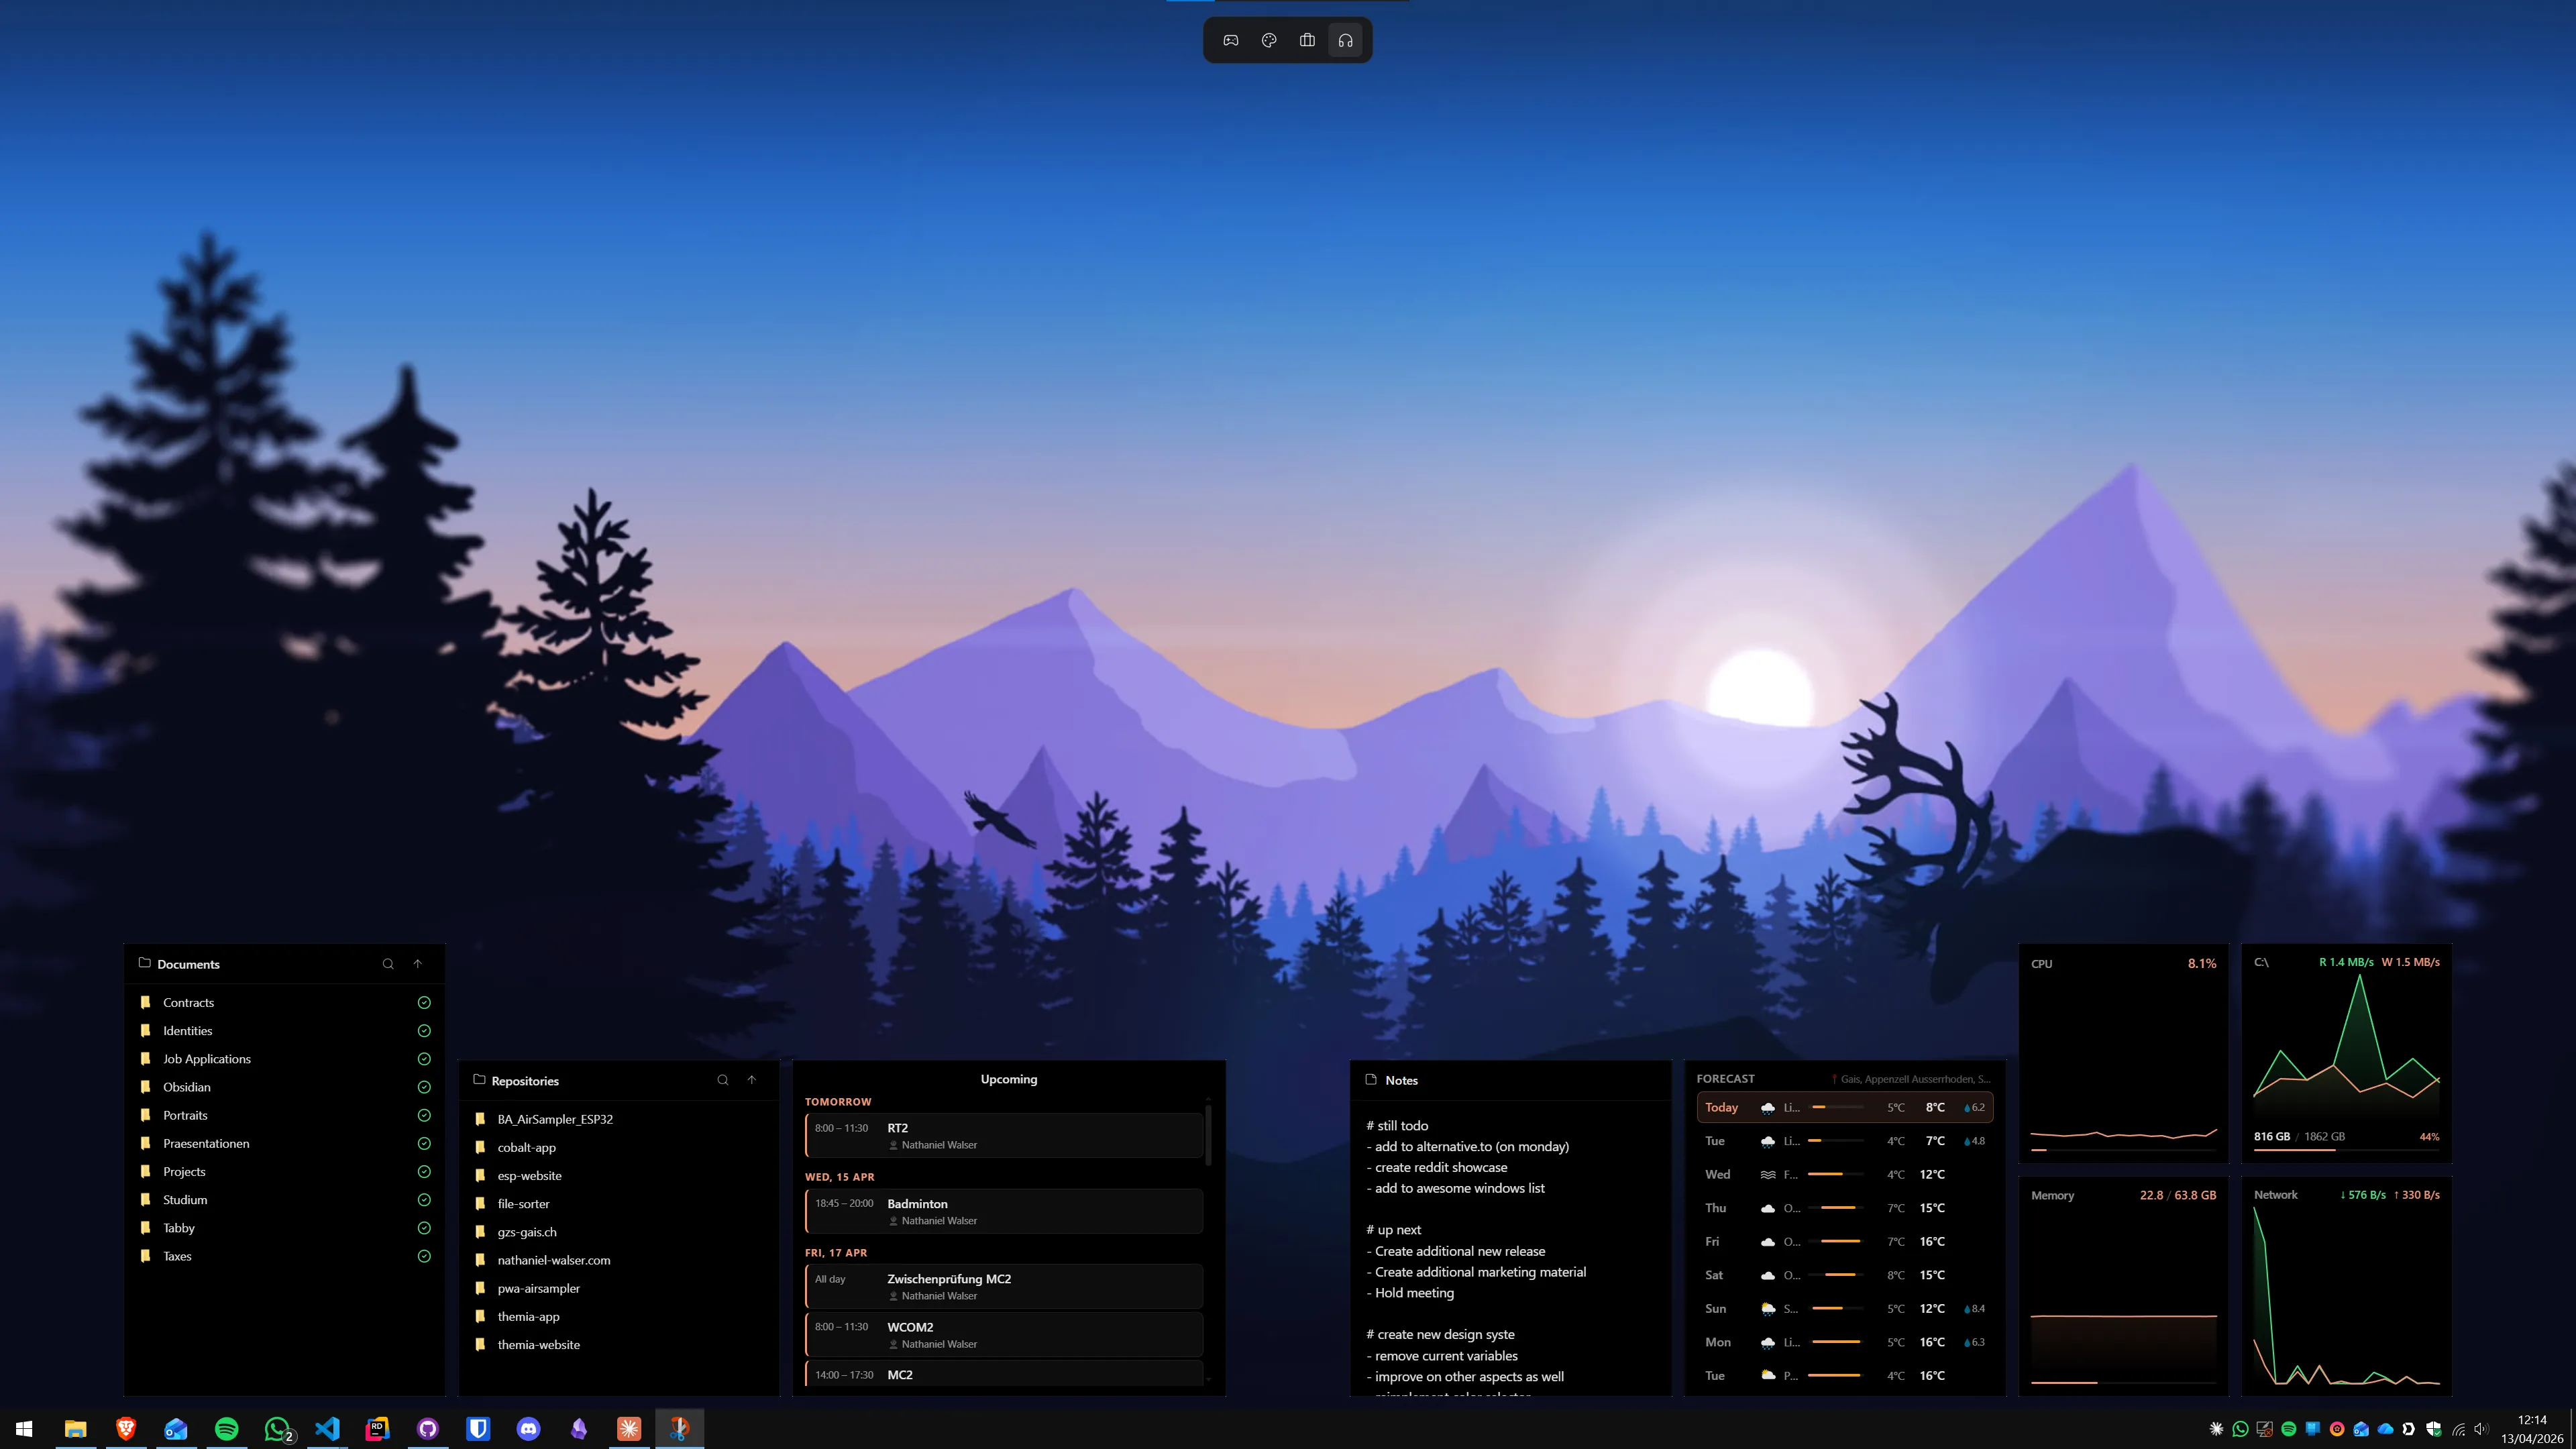
- Themia system stats widget: Sits on your desktop and displays live CPU, GPU, RAM, and disk metrics as a persistent overlay. You can watch the numbers while the editor takes up the rest of your screen, without pressing a single hotkey. See our guide on how to show CPU and GPU temperature on the Windows desktop.
Additional Tips for Faster, Smoother Editing
Generate Optimised Media or Proxies
Editing 4K H.265 footage in real time is demanding even on fast hardware. DaVinci Resolve and Premiere Pro both support proxy workflows — lower-resolution copies of your footage that are easy to play back during editing, with the full-resolution files used automatically at export time. In Resolve, right-click clips in the media pool and choose Generate Optimised Media. In Premiere, right-click and choose Proxy > Create Proxies.
Set DaVinci Resolve's Cache to a Fast Drive
Resolve caches decoded frames to disk for smooth playback. By default this goes on your C: drive. Redirect it to a secondary fast SSD: go to Preferences > Media Storage and add your secondary drive as the primary cache location.
Keep Windows and Drivers Updated
GPU driver updates regularly include performance improvements for specific applications. NVIDIA's Studio Driver releases often coincide with major DaVinci Resolve and Premiere Pro updates. After a driver update, re-verify that GPU acceleration is still enabled in your editor's preferences — driver installs occasionally reset app-level GPU settings.
Windows 11 Storage Sense and Disk Cleanup
After a large project, render files and cache can eat tens of gigabytes. Enable Storage Sense (Settings > System > Storage > Storage Sense) to automatically clean temporary files. For manual deep-cleaning, see our article on how to show and manage disk usage on the Windows desktop.
Developer Setup and Advanced Scripting
If you handle automation — batch renaming files, running FFmpeg transcodes, or scripting export queues — the Windows Subsystem for Linux (WSL2) gives you a full Linux toolchain without leaving Windows. See our best Windows desktop setup for developers for a complete guide.
Putting It All Together: A Pre-Edit Checklist
Before starting a major editing session or export run, run through this checklist:
- Switch to Ultimate Performance power plan (or create a shortcut to do it with one click).
- Pause OneDrive, Dropbox, or any cloud sync.
- Close browsers and any non-essential apps.
- Confirm GPU drivers are up to date (NVIDIA GeForce Experience or AMD Adrenalin will show pending updates).
- Check free space on your footage drive and export drive — aim for at least 20% free to avoid fragmentation slowdowns.
- Open Themia or Task Manager so you can monitor resource use during the render.
- Set your editor's cache location to a dedicated fast drive.
Editing video on Windows 11 in 2026 is genuinely excellent when the system is configured properly. The combination of DaVinci Resolve's free tier, hardware-accelerated encoding, the Ultimate Performance plan, and clean virtual desktop organisation gives you a workflow that is competitive with any platform. Spend the hour on setup and you will save it many times over on every render.
Frequently Asked Questions
What is the minimum RAM for video editing on Windows 11?
16 GB is the practical minimum for 1080p editing in DaVinci Resolve or Premiere Pro. For 4K timelines with heavy effects, 32 GB is strongly recommended. More RAM allows the editor to cache more frames in memory and reduces the need to read from disk during playback.
Is DaVinci Resolve free good enough for serious video editing?
Yes. DaVinci Resolve 19 free tier includes the full cut and edit pages, Fusion for visual effects, Fairlight for audio, and Color for grading. The Studio (paid) version adds noise reduction, some AI tools, and collaboration features. Most solo editors never need Studio.
Should I use an NVIDIA or AMD GPU for video editing on Windows 11?
Both work well in 2026. NVIDIA GPUs use CUDA and NVENC for hardware encoding, which is supported by virtually every editor including DaVinci Resolve, Premiere Pro, and Kdenlive. AMD GPUs use OpenCL and AMF encoding, which is well supported but occasionally lags behind NVIDIA in third-party app optimisation. If you are choosing specifically for video editing, NVIDIA is the safer choice.
Does installing the HEVC codec from the Microsoft Store cost money?
The "HEVC Video Extensions from Device Manufacturer" codec is free on the Microsoft Store. There is a paid version called simply "HEVC Video Extensions" ($0.99), but the free device-manufacturer edition works identically for playback and editing purposes.
What power plan should I use for video rendering?
Use Ultimate Performance during render sessions. It prevents the CPU from dropping clock speeds and keeps PCIe lanes at full bandwidth. You can switch back to Balanced for normal use to save power and reduce fan noise. The Ultimate Performance plan is hidden by default — see the section below for how to enable it.
How do virtual desktops help with video editing?
Virtual desktops in Windows 11 let you create separate workspaces — one for the editing timeline, one for reviewing exports, and one for asset browsing or communication. This keeps your editor window full-screen without cluttering it with other apps, and you can switch workspaces with Ctrl+Win+Arrow in under a second.
How can I monitor GPU and disk usage during a render?
Task Manager (Ctrl+Shift+Esc) shows GPU and disk utilisation in the Performance tab. For a persistent on-desktop view, Themia's system stats widget shows CPU, GPU, RAM, and disk usage as a live overlay without needing to open any window during a render.