How to Set Up Windows 11 for Photography
Windows 11 is a perfectly capable platform for serious photography — but out of the box it is not optimised for it. RAW file support is patchy, colour management is buried in a panel most people never find, and Lightroom Classic will run slowly until a handful of settings are adjusted. This guide covers every step that actually makes a difference, from the first codec install through to a desktop workflow that keeps your current project one click away.
The guide is structured in order of impact. Work through it once on a fresh setup and you will not need to revisit most of these settings again.
Step 1 — Install the Raw Image Extension
Windows 11 includes basic codec support for JPEG and HEIF but its raw file coverage is incomplete. Without additional codecs, File Explorer shows grey placeholder thumbnails for CR3, NEF, ARW, and most other raw formats, which makes browsing a shoot painful.
The fix is the free Raw Image Extension from the Microsoft Store. Open the Store, search for "Raw Image Extension" and install it — it is published by Microsoft and is free. After installing, restart File Explorer (Ctrl+Shift+Esc → Windows Explorer → Restart). Thumbnails now render for the major raw formats, Windows Photos can open and do basic edits on them, and the Details pane in File Explorer shows EXIF metadata including aperture, shutter speed, ISO, and lens info.
You may also want to install the HEVC Video Extensions (search the Store for "HEVC Video Extensions from Device Manufacturer" — the free version). This adds HEIF/HEIC thumbnail support for iPhone photos and unlocks the full HEIF pipeline in Windows Photos.
Step 2 — Configure colour management
Colour management is the part of the photography setup most people skip and then wonder why prints do not match the screen. Windows 11 has a functional colour management system — it just needs to be pointed at the right profile.
- Go to Settings → System → Display → Advanced display settings.
- Click Display adapter properties for Display 1.
- In the dialog that opens, click the Colour Management tab, then the Colour Management… button.
- Select your display in the "Device" dropdown. Click Add… and browse to an ICC profile. If you have calibrated with a hardware colorimeter, the calibration software will have installed the profile here automatically — select it and click Set as Default Profile.
If you have not calibrated yet, Windows ships with a basic sRGB profile. Set sRGB as the default for now and revisit after calibration. Open Color Management via the Run dialog (Win+R → colorcpl) to manage profiles for all connected displays and devices.
In Lightroom Classic, navigate to Edit → Preferences → External Editing and set the Colour Space to match what you set in Windows. For most photographers, that is sRGB. For those supplying files to a pro print lab, use Adobe RGB 1998 and confirm the lab accepts that space.
Step 3 — Tune Lightroom Classic for Windows 11
A default Lightroom Classic installation on Windows 11 is not slow by accident — several settings favour compatibility over performance. The adjustments below are specific to Windows 11 and do not require spending money on new hardware.
Camera Raw cache
The Camera Raw cache is where Lightroom stores pre-rendered previews. The default size is 1 GB — far too small for a modern library. Open Lightroom Preferences → File Handling → Camera Raw Cache Settings and increase the maximum size to between 20 GB and 40 GB. Point the cache location at your fastest NVMe drive. With a large cache, revisiting a previously edited shoot is nearly instant because the previews are already rendered.
Smart Previews
Smart Previews are smaller DNG derivatives that Lightroom can edit independently of the original raw file. Generate them for any collection you are actively editing: right-click a folder in the Library panel and choose Build Smart Previews. This reduces the amount of data Lightroom reads from disk during Develop module adjustments and makes editing from a slow external drive much more responsive.
Power plan and Windows performance settings
Windows 11 defaults to the Balanced power plan, which throttles the CPU and GPU when they are not under sustained load. For importing 500 raw files, this means the processor steps down during bursts between reads, extending import time. Switch to the Ultimate Performance plan. Open an administrator Command Prompt and run:
powercfg /duplicatescheme e9a42b02-d5df-448d-aa00-03f14749eb61
Then open Settings → System → Power and select Ultimate Performance from the plan dropdown. On a laptop, enable this only when on mains power during large import sessions — it noticeably reduces battery life.
Defender exclusions
Windows Defender scans files as they are written to disk. During a bulk import of 1,000 raw files, Defender scanning each file as it lands can add several minutes to the import. Add the Lightroom catalog folder and your raw library root to Defender exclusions: open Windows Security → Virus and threat protection → Virus and threat protection settings → Exclusions and add both paths. Do not exclude your entire drive — just the two specific folders.
Step 4 — Organise your drive layout
A clear drive layout pays dividends when you are searching for a specific shoot six months later. The structure below works well for most photographers and is straightforward to back up:
- C: (NVMe, 500 GB+) — Windows, Lightroom catalog, Camera Raw cache, Lightroom Smart Previews. Everything that benefits from SSD speed.
- D: or E: (NVMe or fast SSD) — Working library for the current year. Subfolders by year and shoot date:
2026 \ 2026-06-10 Shoot Name \. Import directly to this location from Lightroom. - External (HDD, 4+ TB) — Cold archive of completed years. Copy finished years here after delivery, keep the working drive lean.
- Cloud (OneDrive or Backblaze B2) — Off-site backup. Run overnight; do not rely on it as your only second copy.
Name shoots with the date first (YYYY-MM-DD) so File Explorer sorts them chronologically without any plugin. This is the single most useful organisational decision you can make — the folder name becomes a reliable search target years later.
Step 5 — Add desktop shortcuts with Themia
File Explorer is a reasonable tool but it is not designed for quick access to a specific project folder. Navigating to D:\2026\2026-06-10 Client Name\ through the sidebar requires several clicks, and pinning to Quick Access gets cluttered quickly when you have multiple active shoots.
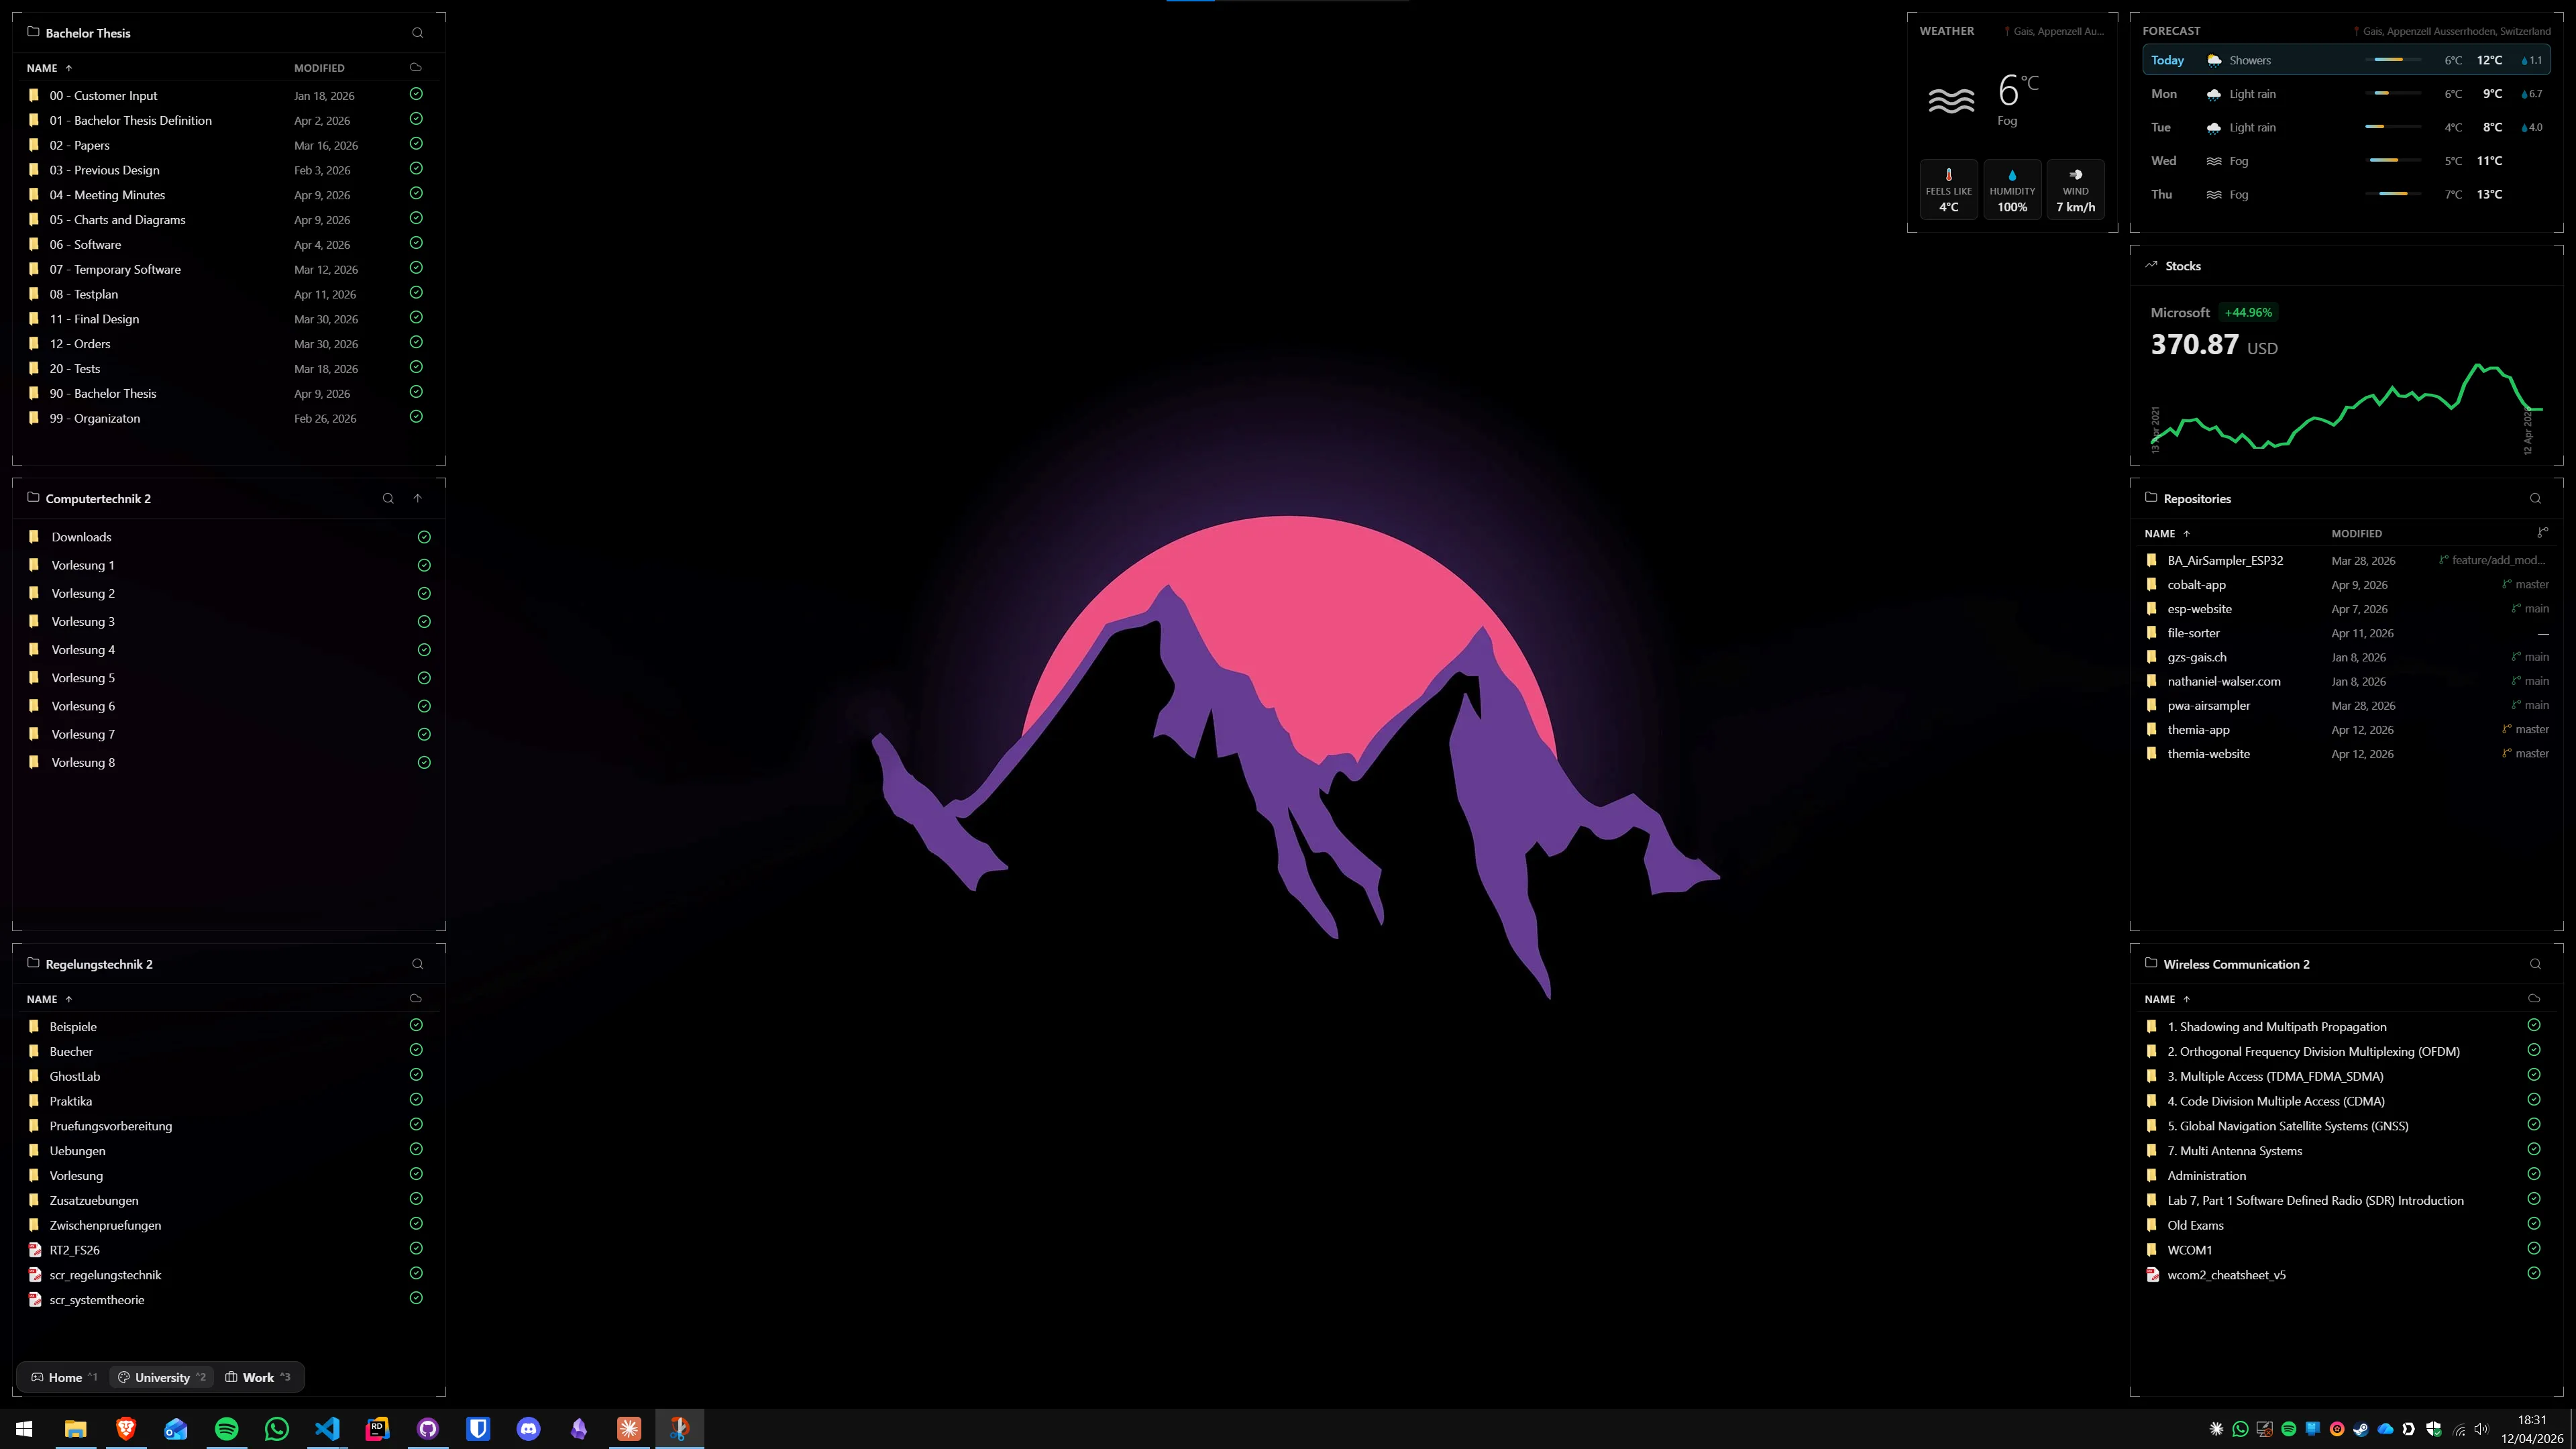
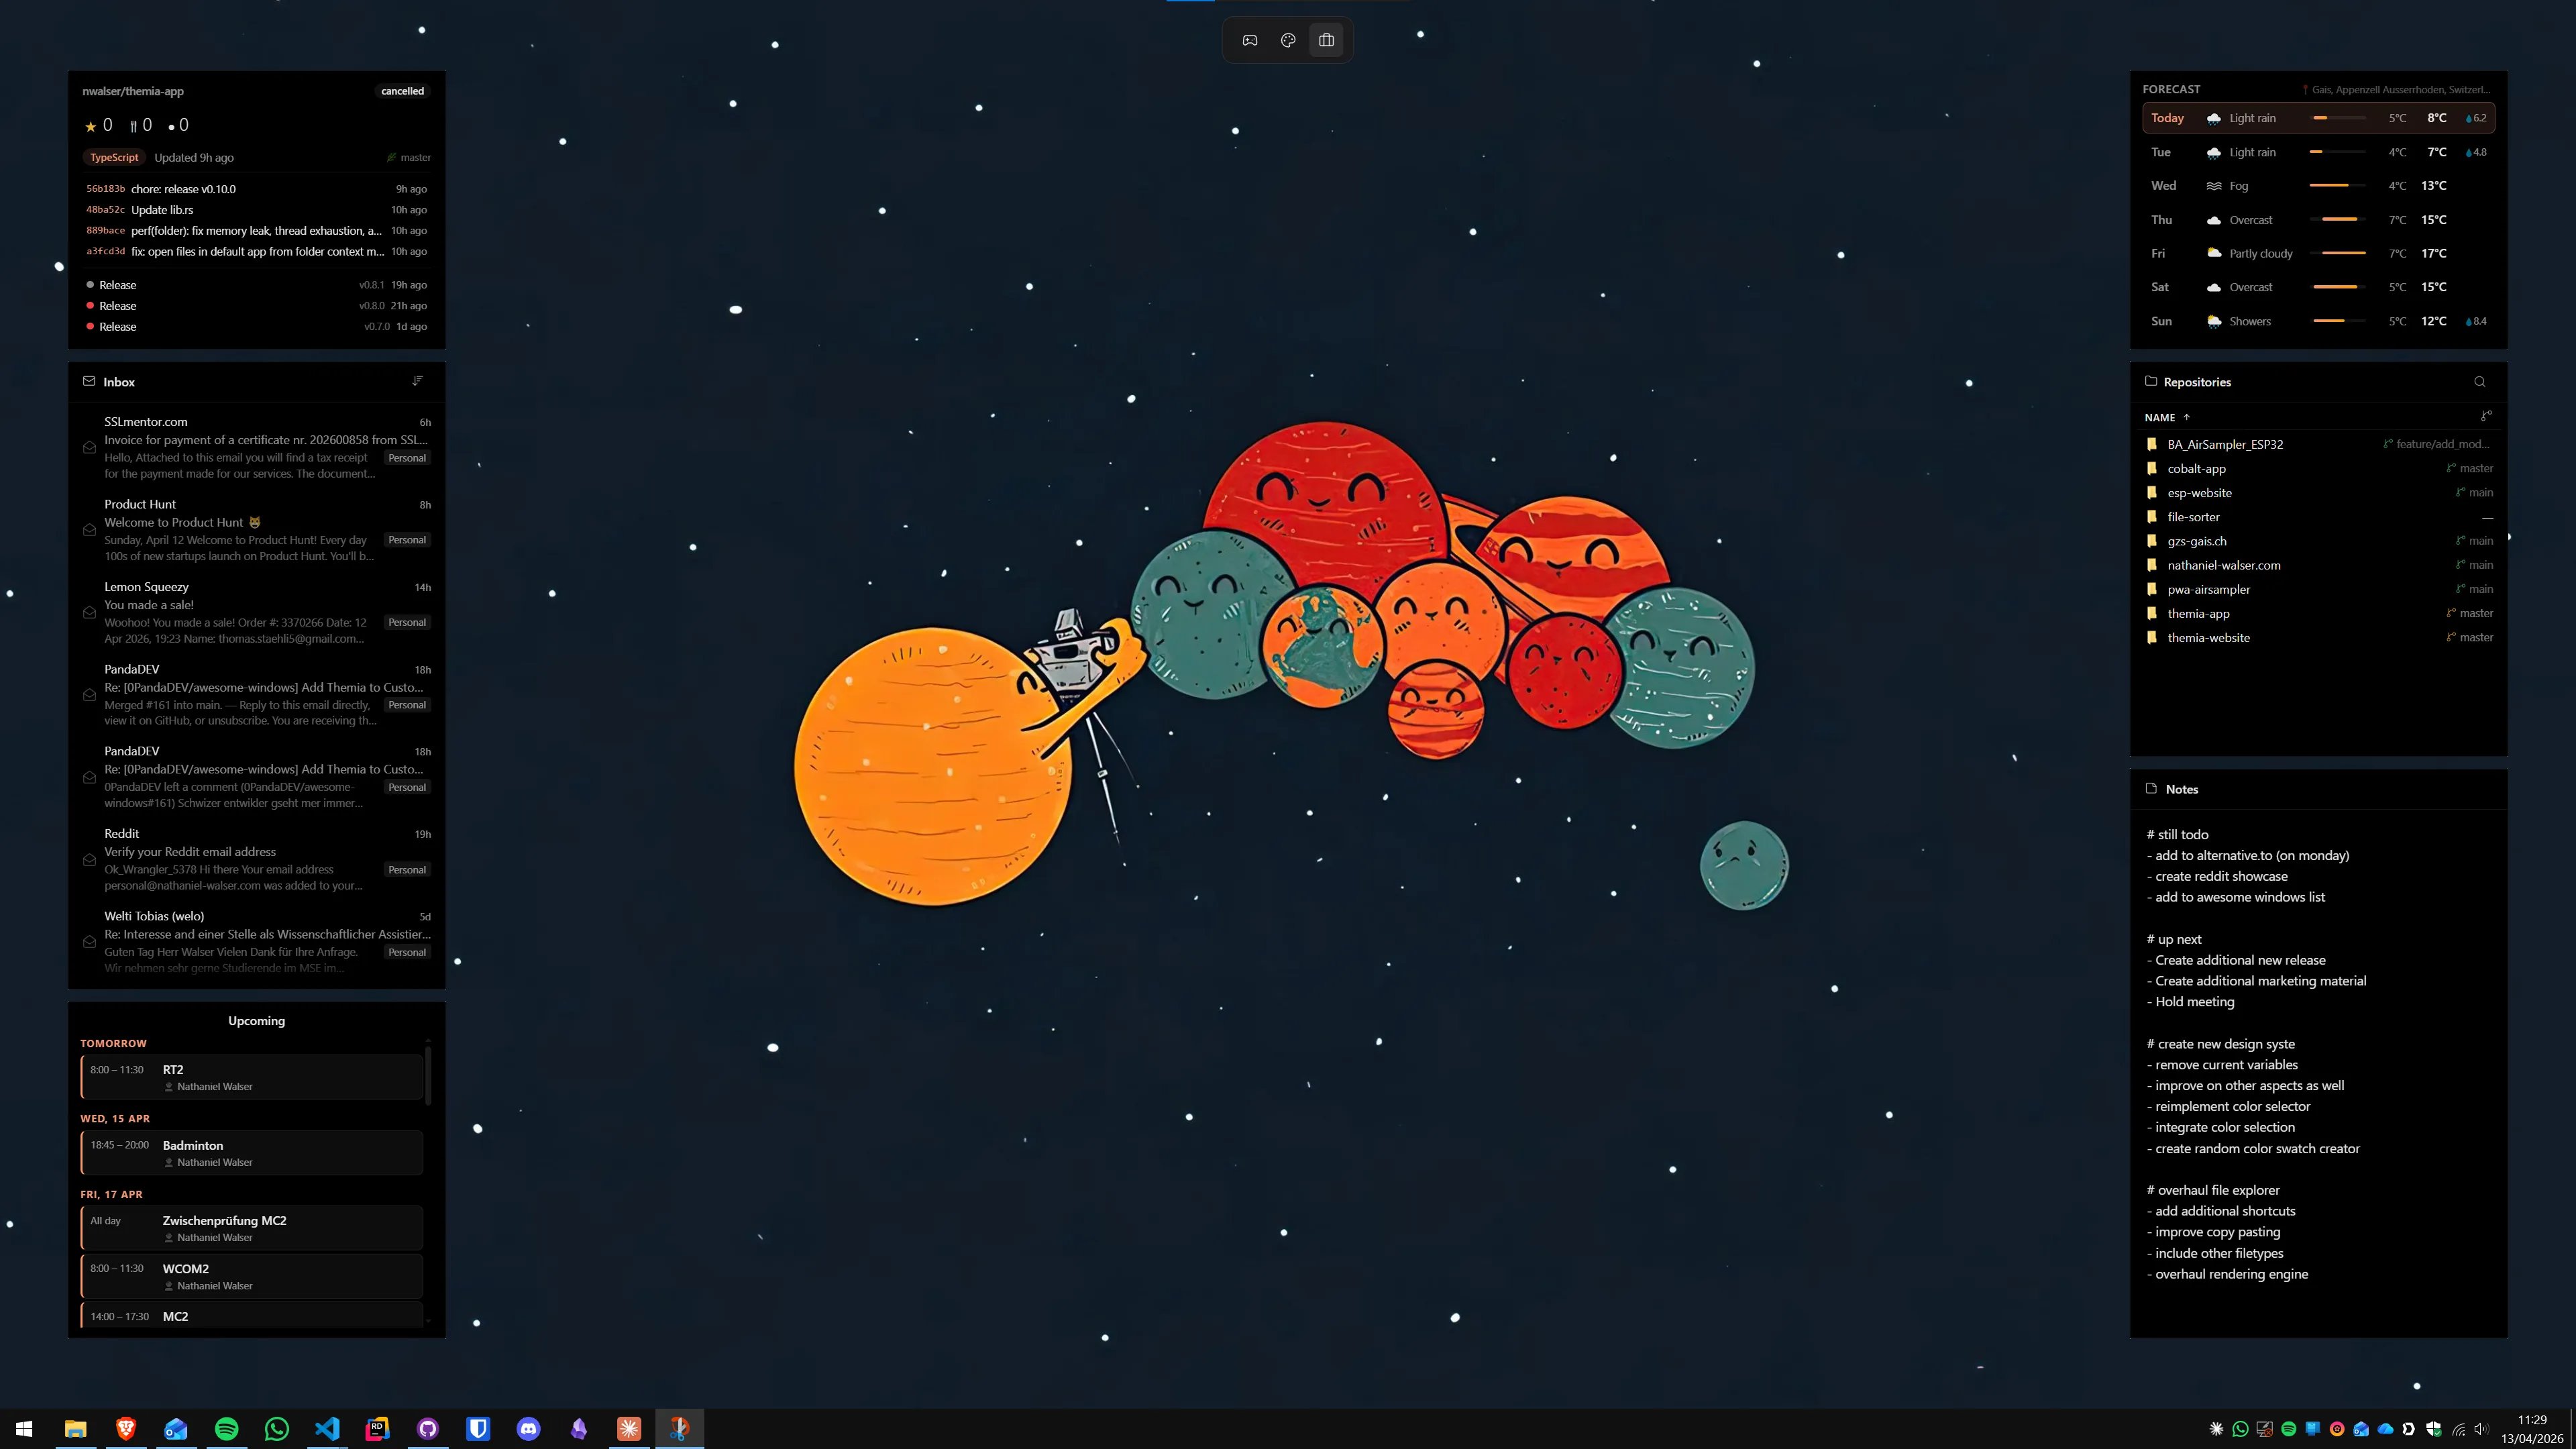
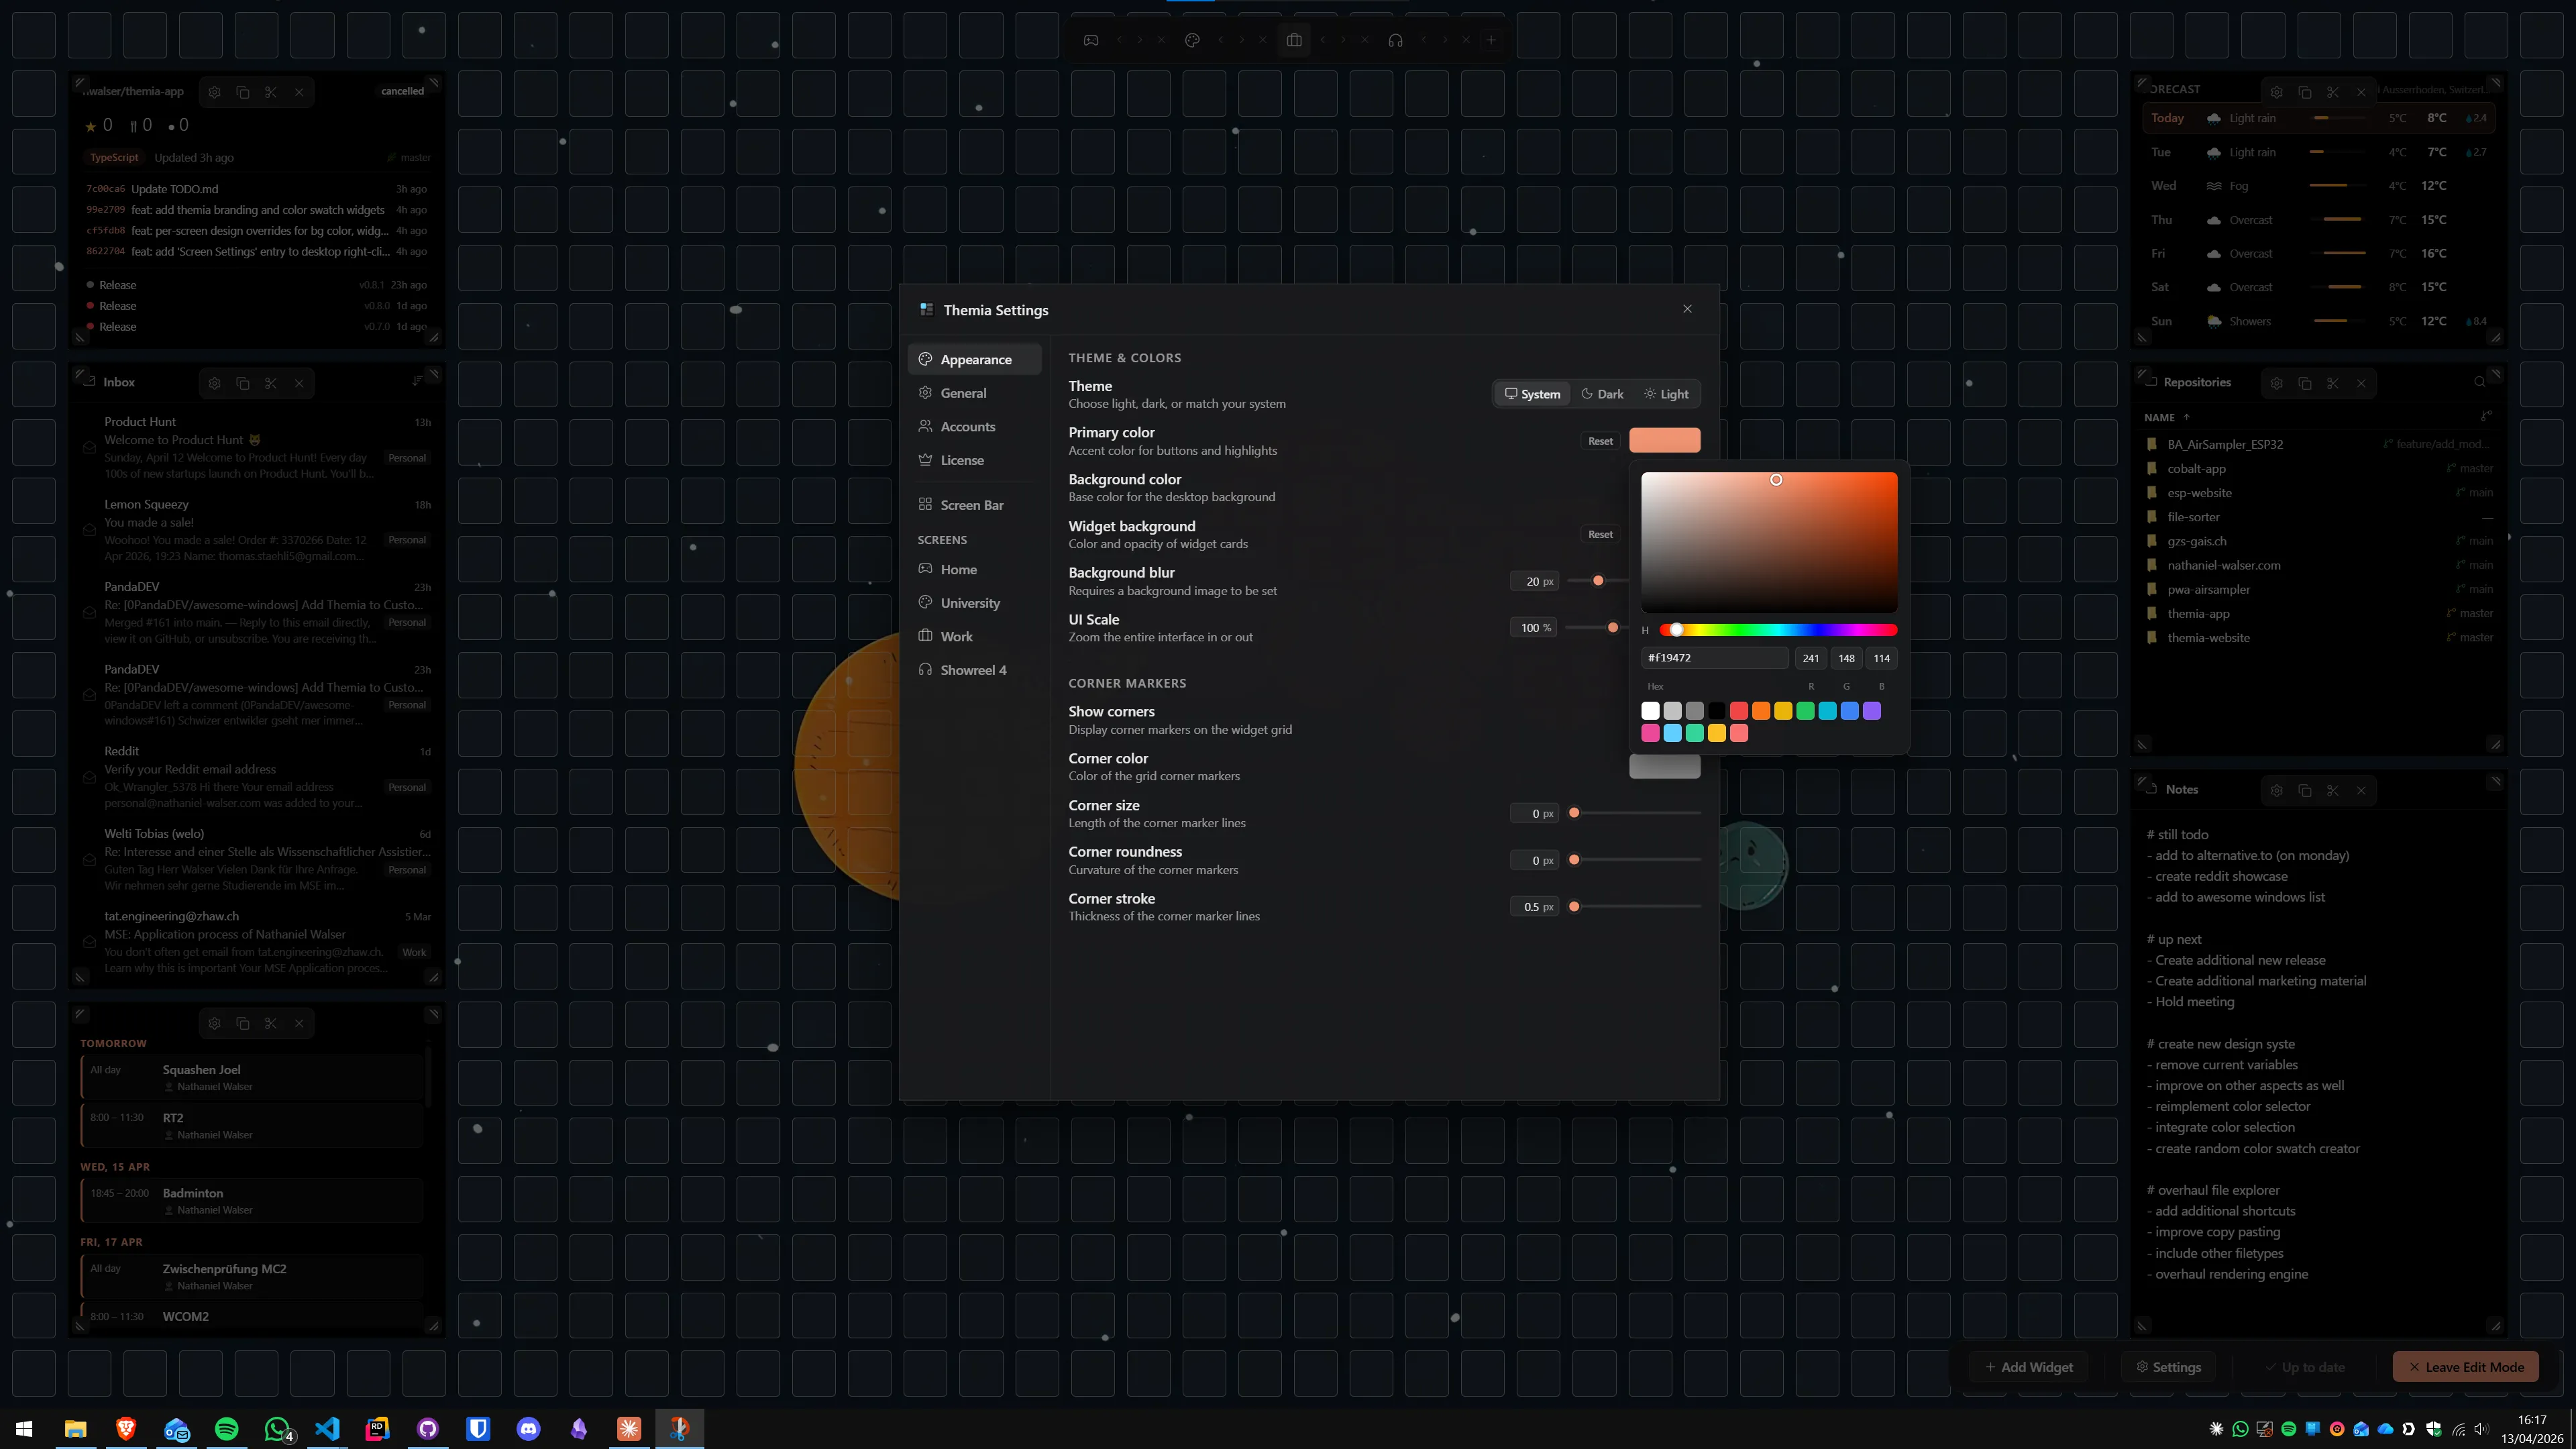
Themia sits on the desktop as a widget layer. Its folder widget pins any directory directly to the wallpaper: right-click the desktop, choose Add Widget → Folder, and browse to your current shoot folder. The widget shows the folder's contents, lets you open any file by clicking, and stays visible even when Lightroom is in the foreground. This makes switching between the library and a reference folder (contracts, shot lists, client briefs) a single click.
A notes widget next to the folder widget is useful for retouching checklists, client colour preferences, or keyword notes — all visible without alt-tabbing away from Lightroom. See our guide to Windows 11 File Explorer tips for more ways to speed up navigation alongside a dedicated widget setup.
Step 6 — Additional tools worth installing
Lightroom Classic handles the heavy lifting but a few lightweight tools fill gaps:
- FastStone Image Viewer (free) — The fastest way to cull a shoot on Windows. Fullscreen browsing, side-by-side comparison, lossless JPEG rotation, and basic EXIF editing. Much lighter than launching Lightroom to preview a single image.
- ExifTool (free, command-line) — Batch metadata editing, embedded GPS stripping for privacy, and format-agnostic EXIF reading. Works on every format including video. Pair it with a GUI front-end like ExifToolGUI if the command line is not your preference.
- IrfanView (free) — Excellent for batch format conversion, mass resizing for social delivery, and old-school slideshow presentation. Its batch conversion handles hundreds of files in seconds.
- RawTherapee (free, open-source) — A full raw developer with ACES colour management. Worth having as an alternative to Lightroom for specific technical tasks or as a backup editor if the Lightroom subscription lapses.
For security of the library itself, consider enabling folder-level encryption for client deliverable folders and reviewing the Windows 11 performance guide for additional startup and background-app cleanup that reduces competition for the CPU during editing sessions.
Putting it all together
The setup checklist in order of effort:
- Install Raw Image Extension and HEVC Extensions from the Microsoft Store.
- Set the correct ICC profile in Colour Management and match it in Lightroom Preferences.
- Increase the Camera Raw cache to 20–40 GB on your NVMe, build Smart Previews for active shoots.
- Switch to Ultimate Performance power plan during editing and import sessions.
- Add Lightroom catalog and raw library folders to Windows Defender exclusions.
- Organise drives into working NVMe, cold-archive HDD, and off-site cloud backup.
- Use Themia folder widgets to keep the current project folder on the desktop.
- Install FastStone for culling and IrfanView for batch export.
None of these steps requires spending money — they are all configuration changes or free tools. The time investment is around 30–45 minutes for a clean setup, and the result is a Windows 11 environment that keeps up with a professional photography workflow rather than fighting it.
FAQ
Does Windows 11 support RAW files natively?
Windows 11 can display some RAW thumbnails out of the box, but coverage is incomplete. Installing the free Raw Image Extension from the Microsoft Store adds support for Canon CR2/CR3, Nikon NEF, Sony ARW, Fujifilm RAF, and dozens of other formats. After installation, RAW thumbnails appear in File Explorer, Windows Photos can open them, and the Details pane shows embedded metadata — no Lightroom required just to browse a shoot.
What colour profile should I set for photo editing?
For web and social media delivery, stay in sRGB — it matches what screens and printing services expect. If you supply files to a professional print lab, they will often request Adobe RGB 1998 or a custom ICC profile they provide. Set the profile in Windows under Settings → System → Display → Advanced display settings → Display adapter properties → Colour Management. Then match it in Lightroom under Edit → Preferences → External Editing so the two agree.
How do I stop Windows compressing my photos in OneDrive?
OneDrive's "Save space and download files as you use them" mode stores a low-resolution placeholder locally and the full file in the cloud — fine for documents, not for a RAW library. Open OneDrive Settings → Sync and Backup and switch to "Keep all files downloaded." Also check OneDrive → Manage backup → Photos and disable auto-enhance so uploads are not re-compressed.
How do I make Lightroom Classic faster on Windows 11?
Four changes have the biggest impact. First, increase the Camera Raw cache to 20–40 GB on a fast NVMe drive (Lightroom Preferences → File Handling → Camera Raw cache). Second, build Smart Previews for shoots you are actively editing so Lightroom works from smaller previews rather than full RAW files. Third, keep the Lightroom catalog itself on the same NVMe as Windows, not on a slow external drive. Fourth, switch to the Ultimate Performance power plan so the CPU and GPU do not throttle during heavy import sessions.
Should my photo library live on an internal or external drive?
Either works, but the tradeoff is clear. An internal NVMe SSD is fastest for import, export, and preview generation. A USB 3.2 Gen 2 external SSD — capable of 1 GB/s or more — is a strong second choice and lets you take the library between machines. Avoid using a spinning HDD as the active working drive; seek times slow Lightroom catalog operations noticeably. A mechanical drive is fine for the cold archive copy, not for daily editing.
Do I need hardware calibration or is the Windows built-in tool enough?
Hardware calibration requires a colorimeter — a device that physically reads your display's output. Entry-level options from Calibrite or Datacolor cost around $100–130 and write a custom ICC profile that software cannot replicate by eye alone. Windows' built-in Display Color Calibration (run dccw from the Run dialog) is eye-matching only: it improves things but is not reliable for professional colour work. For print, client deliverables, or any work where colour accuracy matters, a hardware colorimeter is worth the investment.