Stardock Fences Auto-Organize Rules: Complete Guide (2026)
If you have used Stardock Fences for more than a week, you have probably noticed the same cycle: you tidy icons into fences, a few downloads land on the desktop, and within a day loose icons are scattered between your carefully labelled groups again. Auto-Organize rules exist specifically to break that cycle — they tell Fences where incoming icons should go before they get a chance to sit loose.
This guide explains how the rule system works in Fences 6, how to configure it, how conflicts between rules are resolved, and how Themia, the live-widget alternative to Fences, sidesteps the problem entirely by not using desktop icons at all.
What Auto-Organize Does
Every time an icon appears on your Windows desktop — a file saved there, a shortcut created, a download completed — Fences runs that icon against your defined rules. If the icon matches a rule attached to a fence, Fences moves it inside that fence automatically. If no rule matches, the icon sits loose on the desktop unless you have configured a catch-all fence.
The result is that a desktop that takes you a Saturday morning to tidy can stay tidy indefinitely, provided your rules are well set up. The key word is rules: Auto-Organize is only as smart as the conditions you write. A minimal but well-planned rule set beats a sprawling one full of edge cases.
Rule Condition Types
Fences 6 lets you build rules from several condition types:
- File extension — Match by extension:
.pdf,.exe,.jpg,.png,.docx. This is the most commonly used condition. A fence labelled "Images" with rules for .jpg, .png, .gif, and .webp captures almost every image shortcut that lands on your desktop. - File name contains — Match by a substring in the file name. Useful for naming conventions you control, like files that always include a project code or a year.
- Downloaded from — Match files based on which website they were downloaded from. This uses the "Zone Identifier" metadata Windows attaches to downloaded files. You can send everything from a specific site to a specific fence.
- Folder of origin — Match by the folder where a file originated, if the shortcut was created from a specific path. Helpful for redirecting project shortcuts to the right fence.
You can combine multiple conditions on a single fence with AND or OR logic, giving you compound rules like "file extension is .pdf AND name contains 2026".
Setting Up Your First Rules
The setup flow is consistent across all rule types:
- Right-click any fence on your desktop and choose Configure fence from the context menu.
- In the fence settings dialog, click the Auto-Organize tab.
- Click Add rule.
- Choose a condition type from the dropdown. For extension-based rules, select "File extension" and type the extension without the dot (e.g.,
pdf). - Add additional conditions if needed using the + button.
- Click Save.
The rule is now active. The next time a file matching that condition lands on your desktop, Fences will move it into this fence automatically. You do not need to restart Windows or reload Fences.
To see a practical starting point, here is a simple rule set that handles the most common desktop clutter:
- Documents fence — rules for
.pdf,.docx,.xlsx,.pptx,.txt - Images fence — rules for
.jpg,.jpeg,.png,.gif,.webp,.svg - Installers fence — rules for
.exe,.msi,.zip,.rar,.7z - Media fence — rules for
.mp4,.mkv,.mp3,.flac - Shortcuts fence — a catch-all default for anything that matches no other rule
Resolving Rule Conflicts
When two fences have rules that could both match the same incoming icon, Fences applies the rule belonging to the higher-priority fence. You set fence priority in Fences Settings → Auto-Organize → Fence Priority, where you drag fences up and down a priority list.
A useful mental model: think of the priority list as an if-else chain. Fences evaluates fences top to bottom and places the icon in the first match it finds. Put your most specific rules at the top of the priority list and your broadest catch-all at the bottom.
For example, if you have both a "Work PDFs" fence (rule: extension is .pdf AND name contains "invoice") and a "Documents" fence (rule: extension is .pdf), put "Work PDFs" above "Documents" in priority. An invoice PDF will land in "Work PDFs"; any other PDF will fall through to "Documents".
Running Auto-Organize on Existing Icons
Rules only run automatically for new icons as they appear. If you have a desktop full of existing loose icons and you want to sort them all at once, use Fences Settings → Auto-Organize → Organize all now. This sweeps every icon currently on your desktop, applies your rules, and moves matches into their designated fences.
Run this after your first rule setup to get an immediate tidy desktop. After that, the continuous auto-organize keeps new arrivals in order.
Icons that match no rule are left in place if you have no default fence. To ensure a truly clean desktop, designate a catch-all default fence. In Fences Settings → Auto-Organize, there is an option to set any fence as the default destination for unmatched items.
Folder Portals vs Auto-Organize Rules
Fences offers another file-surface feature called Folder Portals, which mirrors the contents of a real folder into a fence in real time. It is worth distinguishing the two:
- Auto-Organize rules move desktop shortcuts and files from the desktop into a fence. The original file stays wherever it was on disk; only the desktop representation moves.
- Folder Portals display the actual contents of a folder directly in a fence. Changes in the folder — new files, deletions — appear in the fence automatically, no rule needed.
If you save project files directly to your desktop and want to see them organized, Auto-Organize rules help. If you keep files in a real folder (e.g., C:\Users\You\Downloads) and want that folder visible on your desktop without copying anything, a Folder Portal is the right tool.
Many Fences users combine both: Folder Portals for their active Downloads and current project folders, Auto-Organize rules for everything else that drifts onto the desktop. See the Fences setup guide for a walkthrough of combining these features into a coherent workflow.
How Themia Approaches the Same Problem
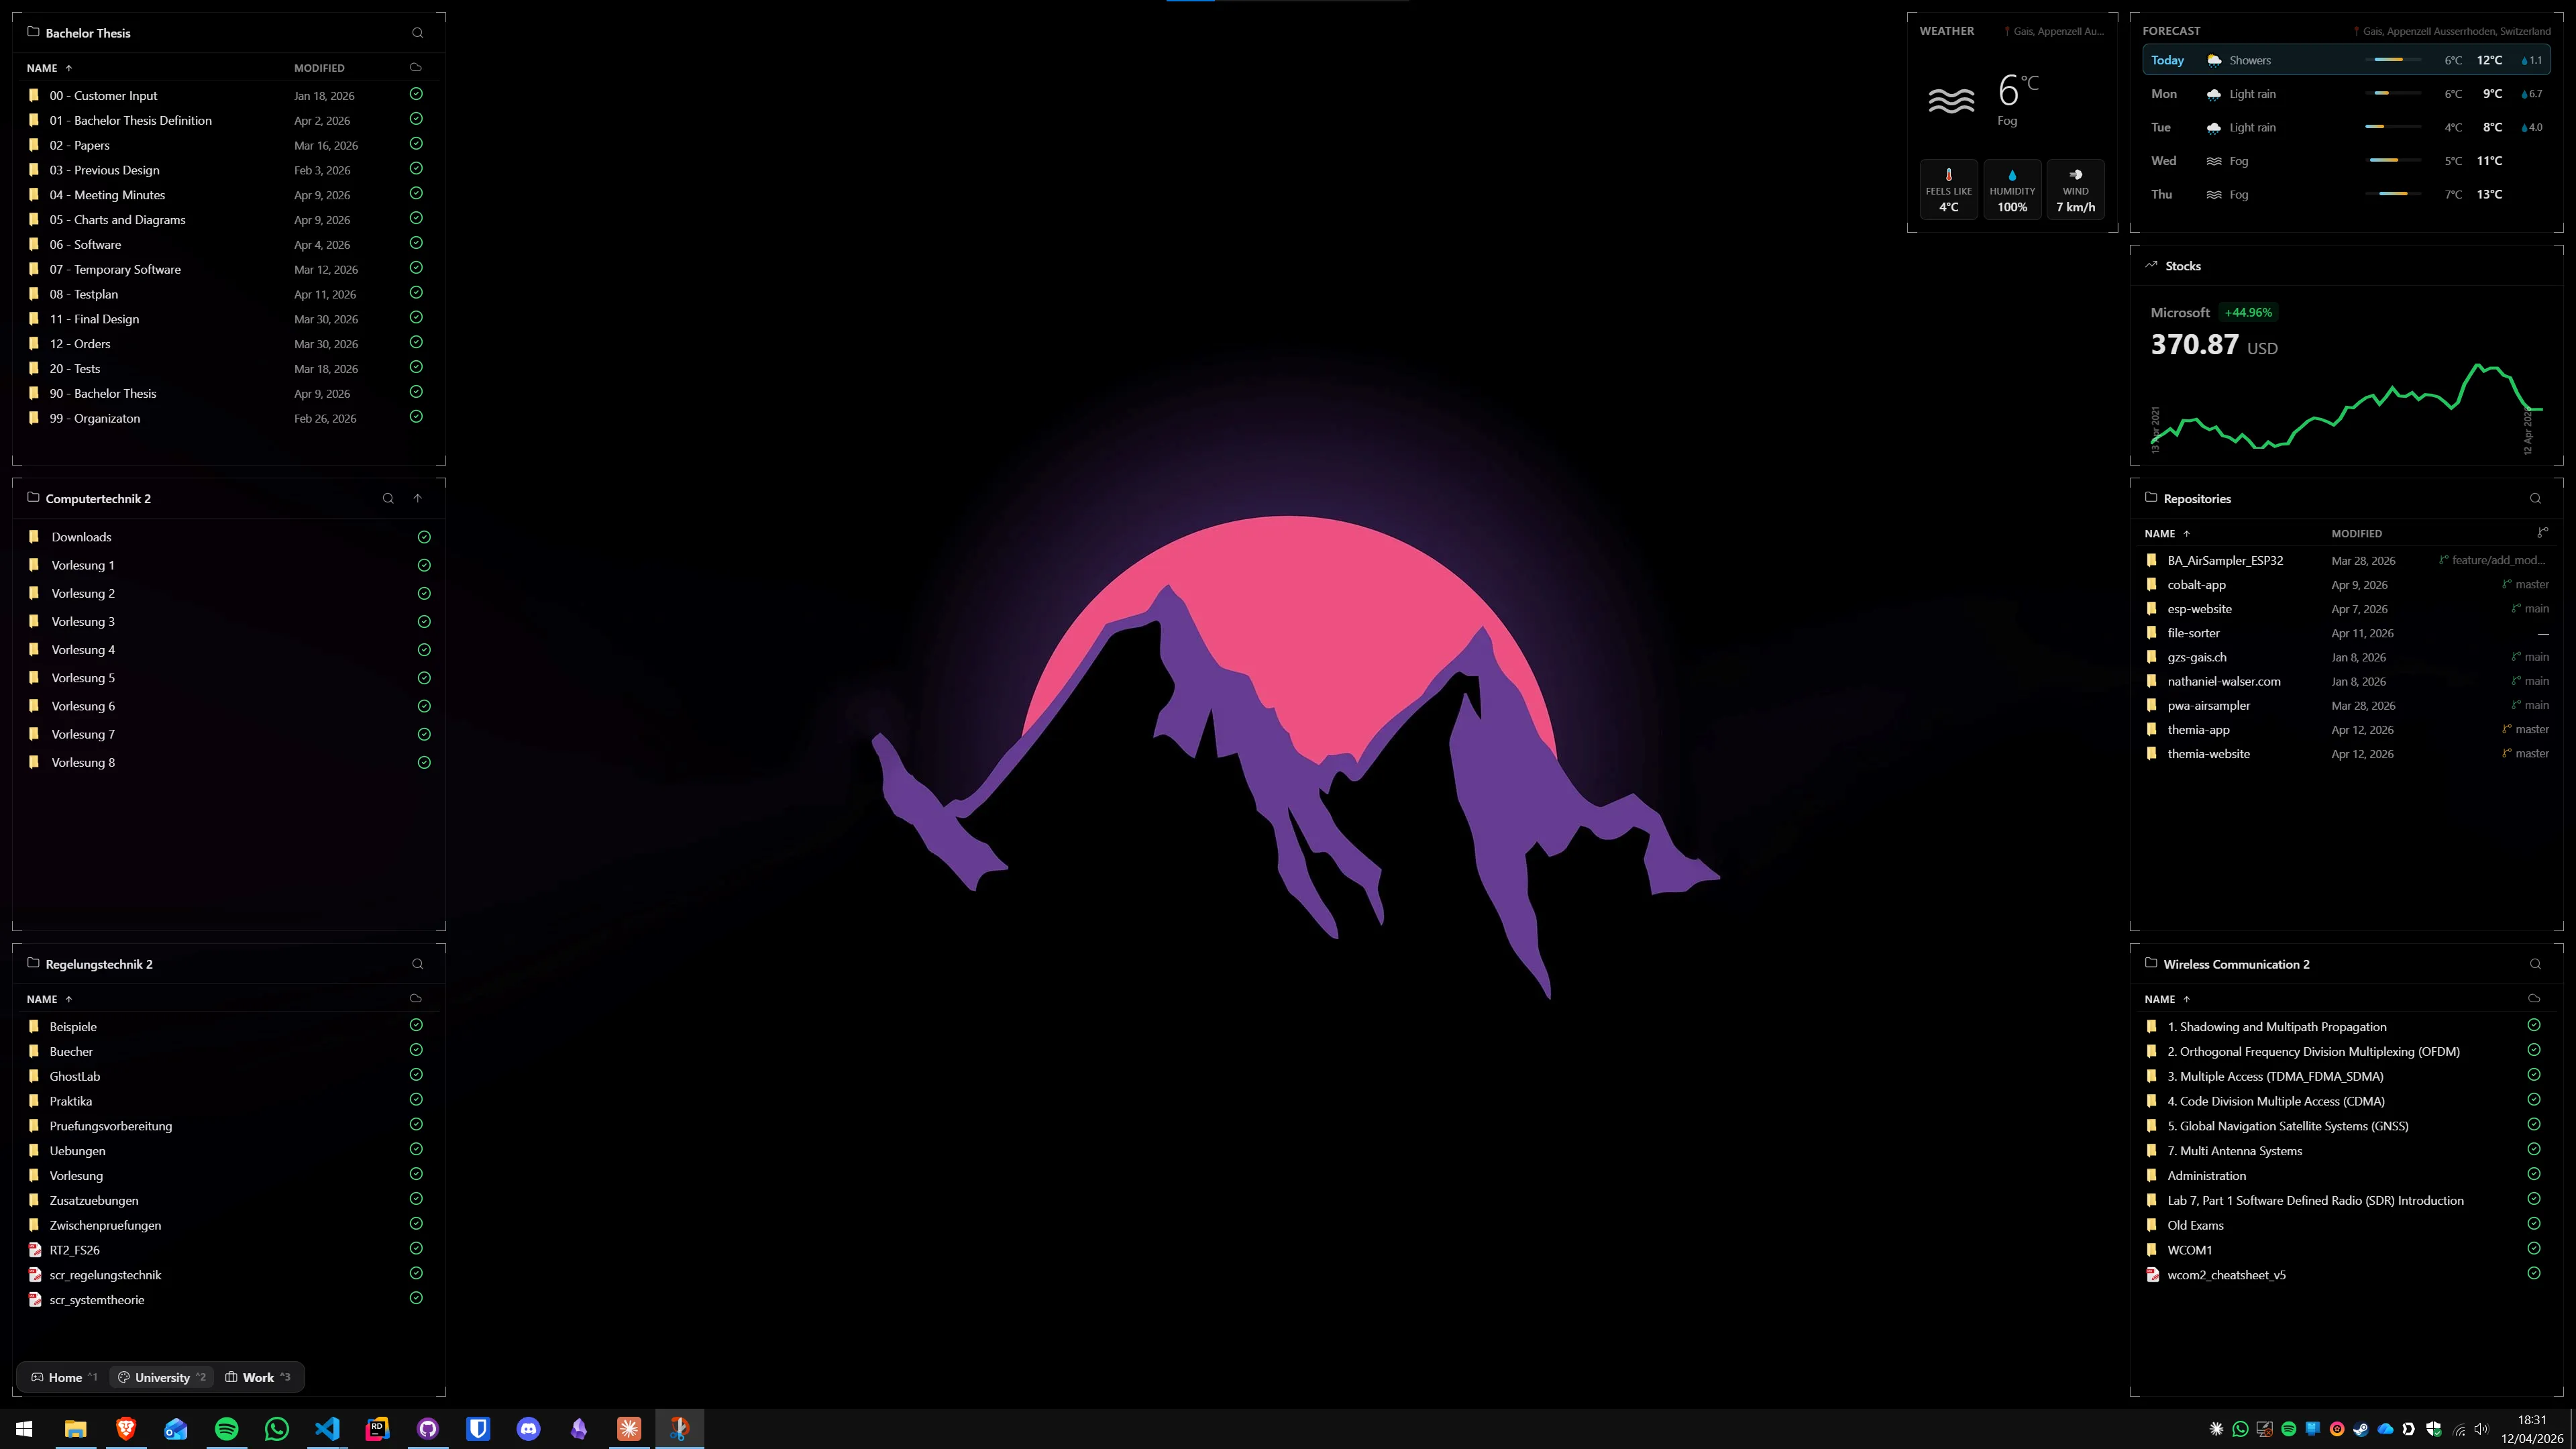
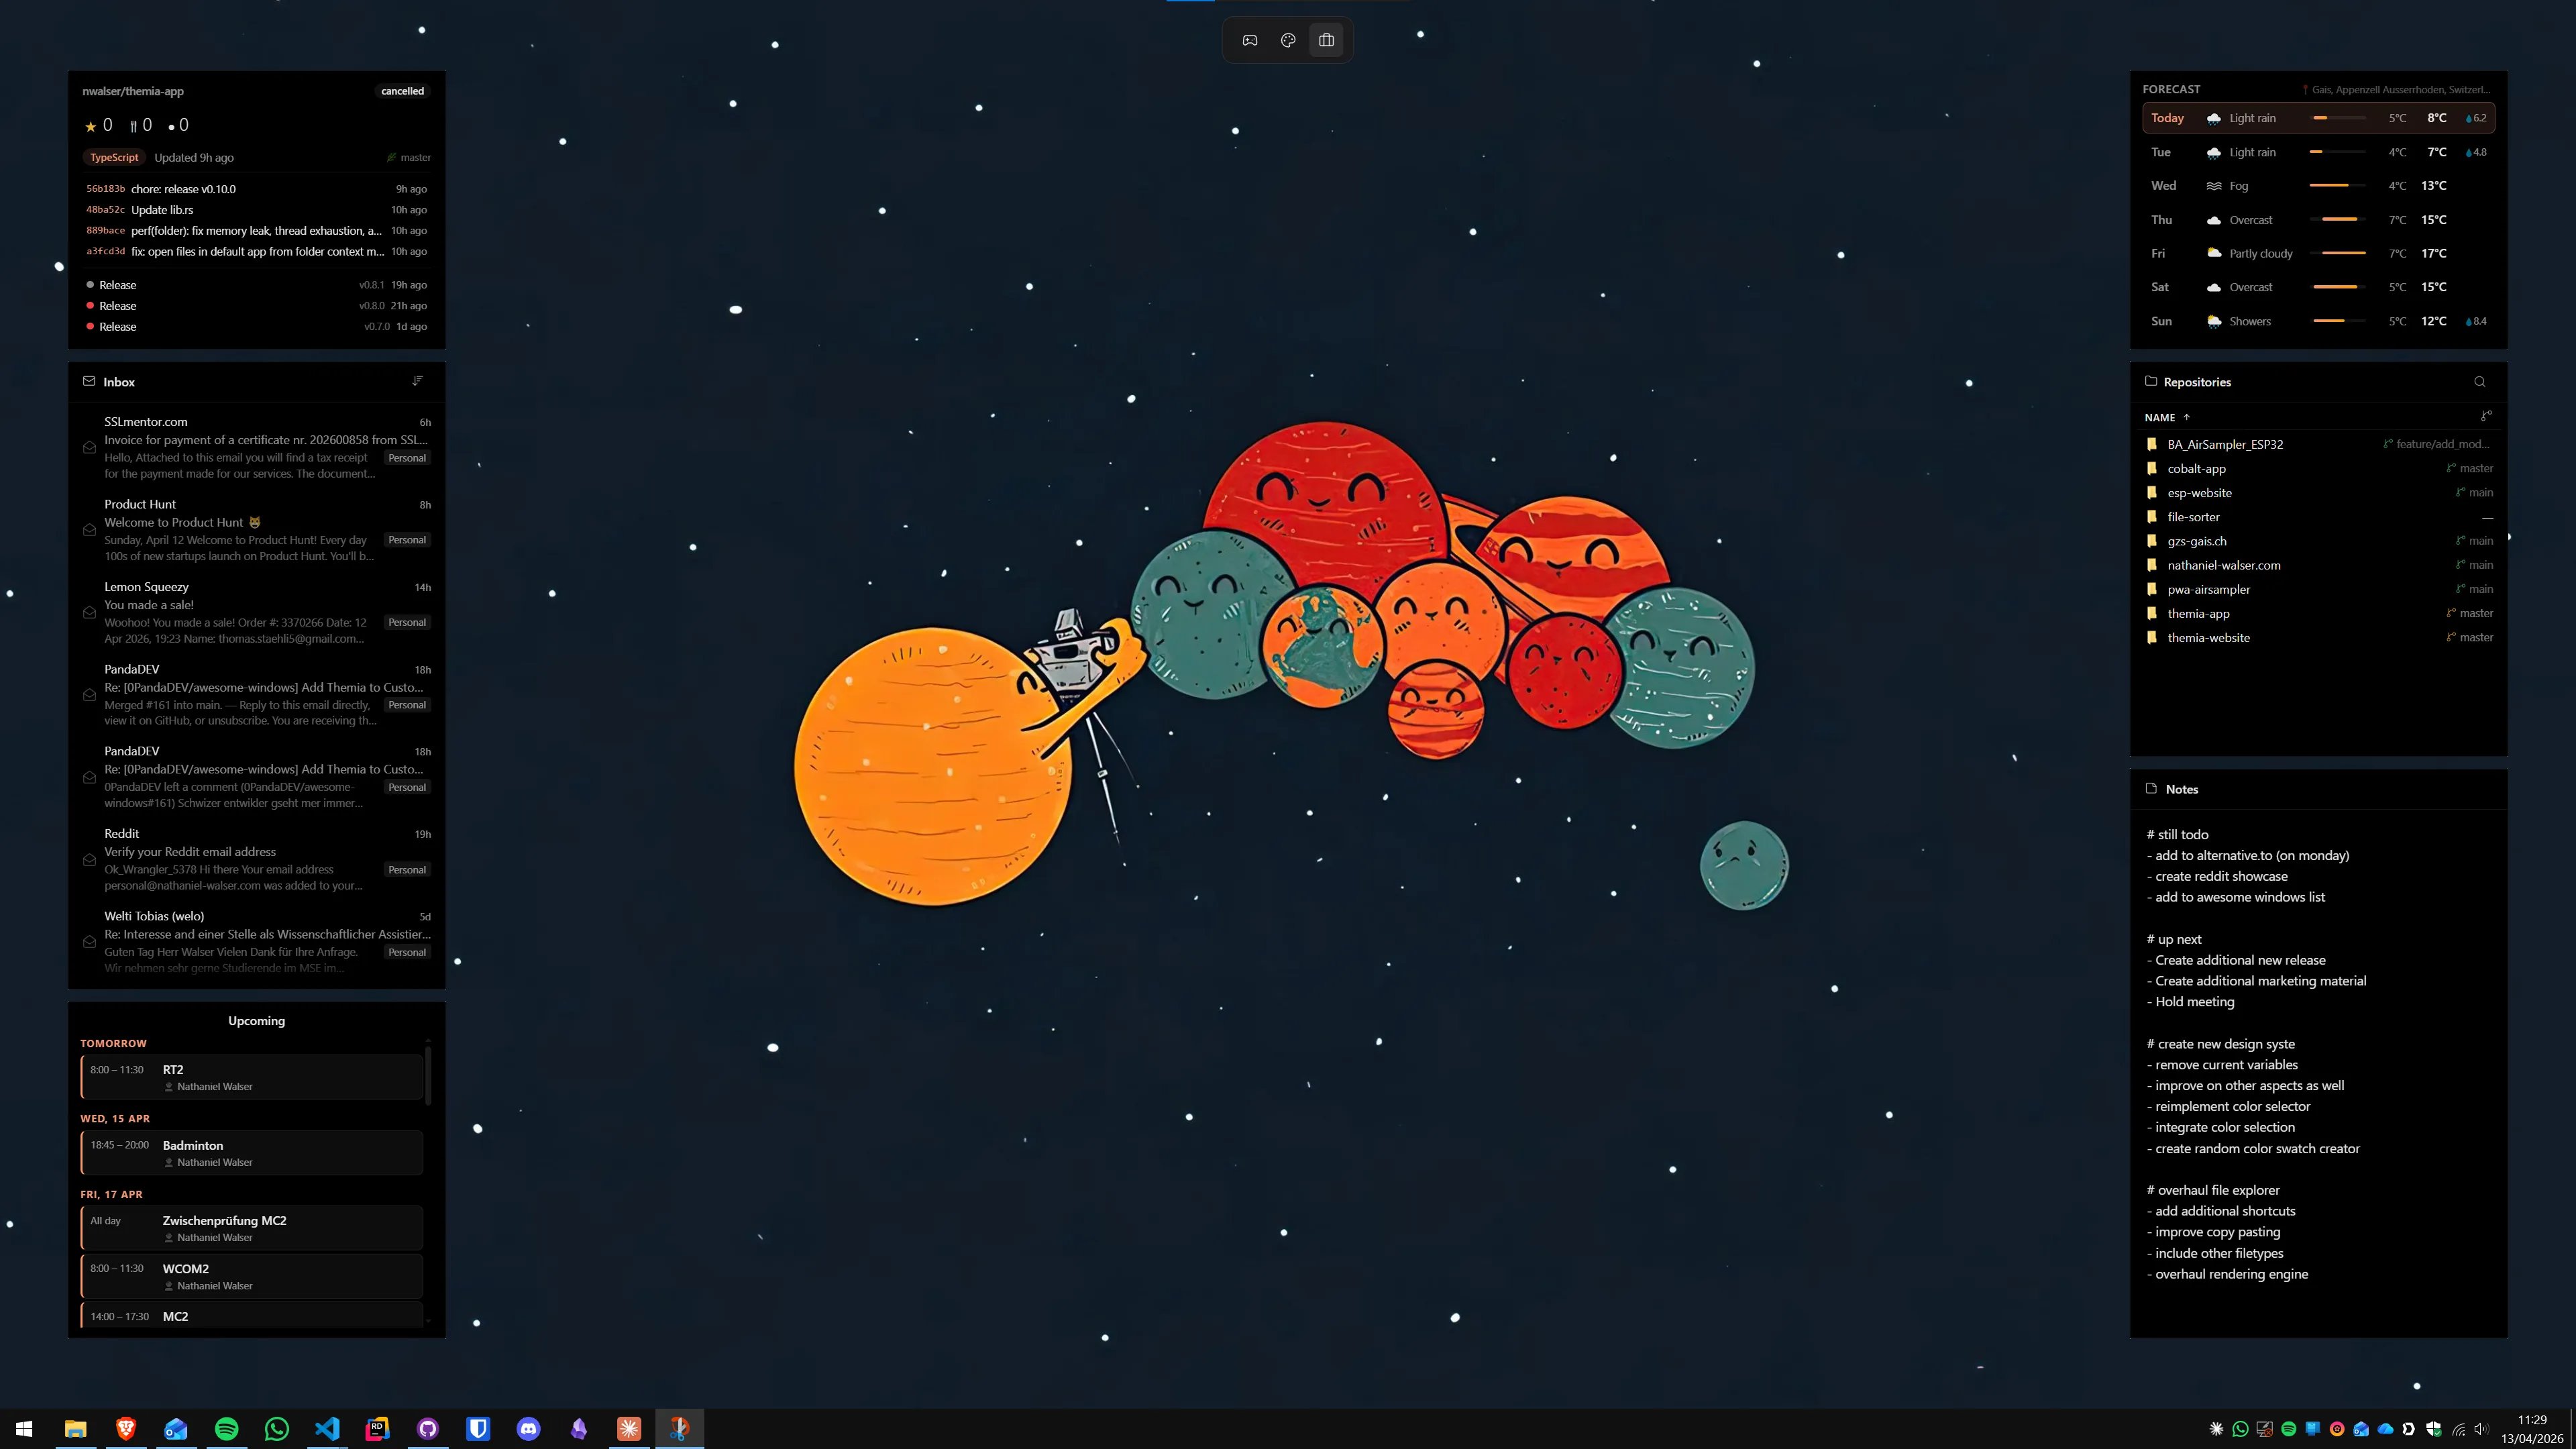
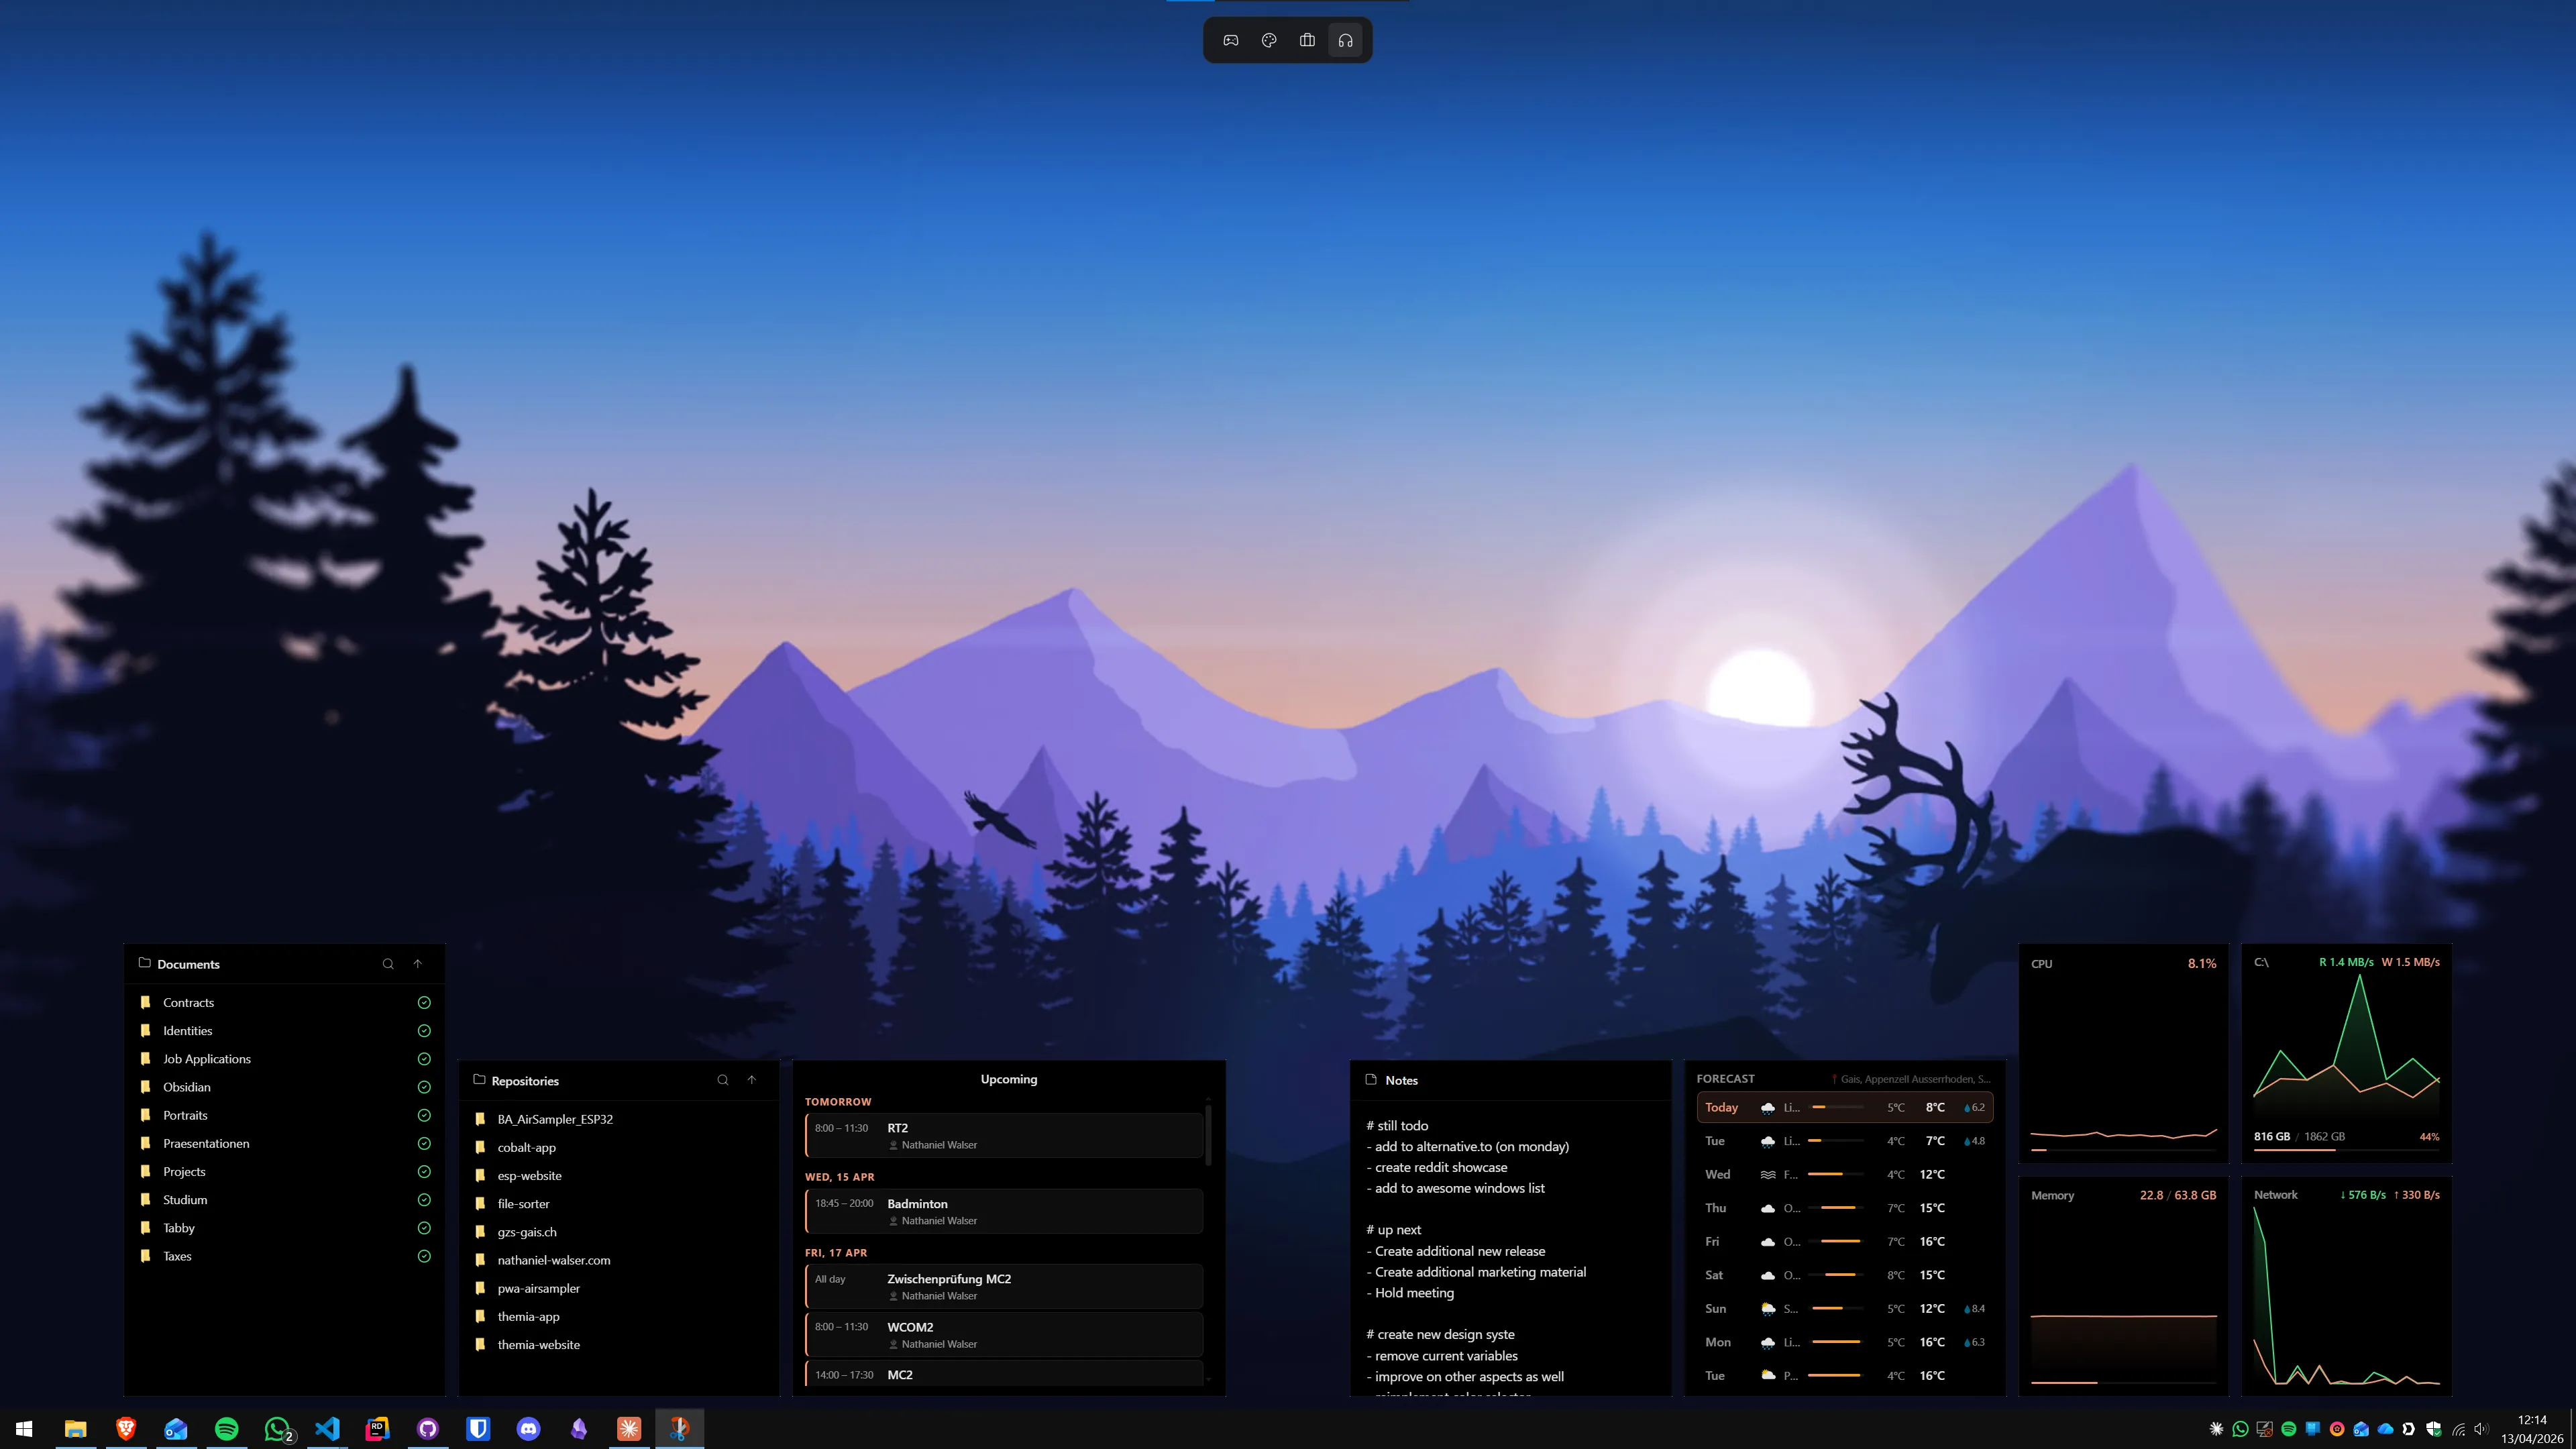
Themia takes a fundamentally different position: instead of organising icons, it replaces the desktop surface with live-data widgets. A Themia desktop might show a weather widget, a system stats panel, a to-do list, and a calendar — no file shortcuts, no app icons sitting loose.
The reason Themia users do not need Auto-Organize rules is that they do not interact with files and apps through the desktop at all. Files stay in File Explorer; apps launch from the taskbar or Start menu. The desktop becomes an information dashboard rather than a staging area for files.
This is a genuine trade-off, not a clear winner. If your workflow centres on quickly accessing project files and app shortcuts from the desktop, Fences' Auto-Organize rules add real value. If you want your desktop to show you live information at a glance without file management, Themia is the more natural fit.
Some users run both: Fences handling a small set of key shortcuts in neat groups, Themia providing the information layer around them. See using Themia and Fences together for how that combined setup works in practice.
Fences 6 Pricing in 2026
Stardock Fences 6 is available as a one-time perpetual licence at $29.99 or a subscription at $9.99 per year. A multi-seat licence for up to five users (family or small office) is $49.99 perpetual or $19.99 per year.
Themia is free to download with a solid core feature set. The Pro upgrade, which unlocks additional widget types and customisation options, is a flat $19 one-time payment — no subscription. The two tools solve different problems, and pricing reflects different models: Fences is a mature desktop organiser with a decade of refinement; Themia is a native Tauri application under 10 MB focused on live-data widgets.
Tips for Effective Rule Sets
- Start minimal. Two or three well-chosen rules cover 90% of desktop clutter. Add more only when you notice a specific type of icon that keeps landing loose.
- Use extension rules for most cases. File extensions are stable and specific. Name-pattern rules are useful but can produce false positives if your naming is inconsistent.
- Always set a default fence. Without one, anything that matches no rule remains loose. A "Misc" or "Inbox" fence as default ensures the desktop stays clear.
- Review rules every few months. Projects change, software changes. Rules you set up for a 2024 project might send unrelated files to the wrong fence in 2026.
- Combine with Quick Hide for presentations. Even with rules active, you may want to hide all fences before screensharing. The Quick Hide toggle (double-click blank desktop) clears everything in one action.
Summary
Stardock Fences' Auto-Organize rules solve the hardest part of desktop organisation: keeping it organised after you set it up. By attaching conditions to fences — file type, name pattern, download source — you create a system where the desktop sorts itself as new files arrive.
The feature works best with a small, deliberate rule set and a default catch-all fence. Combine it with Folder Portals for active project folders and Quick Hide for screen-sharing scenarios, and Fences becomes a genuinely low-maintenance organisation layer.
If icon management is not your priority and you would rather have live information on your desktop, Themia's widget approach removes the need for rules entirely by changing what the desktop surface is for.
FAQ
What are Auto-Organize rules in Stardock Fences?
Auto-Organize rules are conditions you set on a fence so that matching icons land inside it automatically. When a new file or shortcut appears on your desktop — from a download, a created document, or a dragged shortcut — Fences checks each rule and places the item in the first matching fence. Rules can match on file extension, file name pattern, or source folder.
How do I add an Auto-Organize rule to a fence?
Right-click any fence on your desktop and choose "Configure fence". In the fence settings dialog, switch to the Auto-Organize tab and click "Add rule". You then pick a condition type (file type / extension, name contains, downloaded from, etc.) and fill in the value. Save the rule and it applies immediately — the next item that matches will drop into that fence automatically.
Can multiple fences have rules that match the same file?
Yes, and Fences resolves the conflict by applying the rule in the first fence that has a matching condition, ordered by the fence priority you set. The item goes into the highest-priority matching fence and not into any other. You can reorder fence priority in Fences Settings to control which rule wins when there is ambiguity.
Do Auto-Organize rules move existing icons or only new ones?
By default, rules apply to newly appearing icons. However, you can manually trigger an "Auto-Organize now" action from Fences Settings → Auto-Organize → "Organize now", which sweeps all current desktop icons and places them into matching fences. Icons that match no rule are either left on the desktop or moved to a default catch-all fence if you have configured one.
Does Themia have a similar auto-organize feature for widgets?
Themia does not need one. Its desktop shows live-data widgets — weather, system stats, calendar, notes — rather than file shortcuts and app icons. Because there are no icons to pile up, the problem Auto-Organize solves simply does not arise. If you primarily need icon organisation, Fences' rules system is the right tool. If you want a live-information dashboard, Themia is the different approach.
Does Auto-Organize slow down Windows 11?
No noticeable impact in normal use. Fences watches desktop changes via the Windows Shell notification API, which is lightweight. The rule evaluation happens only when a new icon appears on the desktop, not on a continuous timer, so idle resource use is minimal.
Can I create a catch-all fence for unmatched icons?
Yes. In Fences Settings → Auto-Organize, there is an option to designate a "default" fence. Any icon that lands on the desktop and does not match any specific rule is placed in this default fence automatically. This is the cleanest way to ensure no icon ever sits loose on the desktop.